What preceded it
I like the Carbon images that appear on Twitter from Pybites. Out of curiosity, I took a look at the code on GitHub, but it was pretty overwhelming and intimidating, so I quickly moved on to something I did “understand.”
I often follow a tutorial or collect items I might need one day. I had so many Udemy courses that I was ashamed of it. Taking a course gives a sense of security: they take you by the hand, and you get the feeling that you are learning something because you can do the exercises they present.
However, in practice, I did not learn to program in Python. The basics stuck, but I couldn’t build an app with them, and I couldn’t apply my knowledge; I wasn’t even able to write a simple rock-paper-scissors game.
To get out of this tutorial paralysis, I started with PDM (the Pybites Developer Mindset program). The one-on-one guidance from someone who will assess my work was an exciting undertaking. But now, I’m glad I did because it has brought me to the point where I can even dig into the code of an open-source project and modify it to my liking.
The code on GitHub and my plan
Before I could get started with the code from PyBites-Open-Source on GitHub, I had to figure out what I wanted to do. So I started making a list of what I wanted, what I had to do, and what resources I needed.
The list of tasks I had prepared for myself included the following:
- Find out what happens in the code.
- List the things I want to change.
- Analyze the link in the browser to see which values I have to give.
- Analyze the JSON file to see what the values look like.
- Place the values in the code, that is adjusting the URL by passing in the variables.
- Rename the image to date-time-carbon.png.
The URL
To start, I created a nice image on Carbon, which I could use for learning from this open-source project. Then I exported all the desired settings (a JSON file) so that I would always have the data at hand. Finally, I copied the link from the address bar. The URL contained all the data needed to create the image.
Sample snippet to test
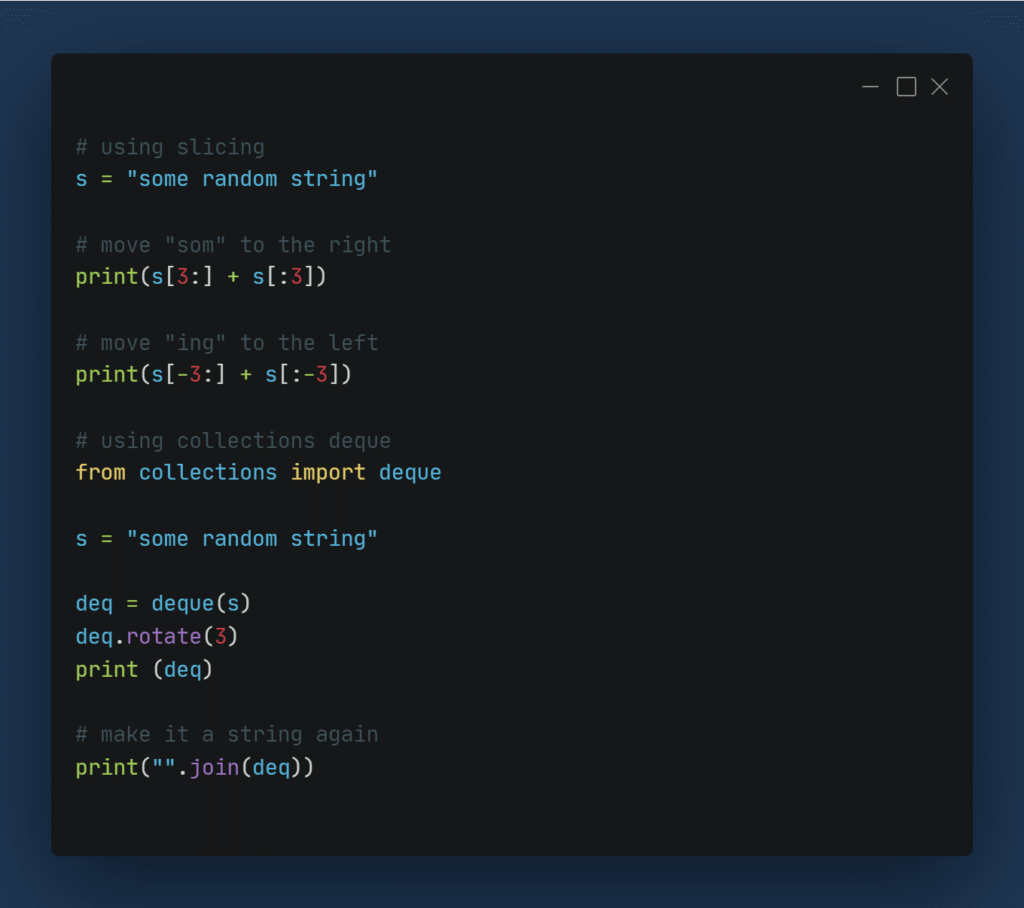
To be able to test whether everything was going according to plan, I used a sample snippet to ensure everything looked how I envisioned it. This snippet would be the same during the development process to have a test guideline.
# using slicing
s = "some random string"

# move "som" to the right
print(s[3:] + s[:3])

# move "ing" to the left
print(s[-3:] + s[:-3])

# using collections deque
from collections import deque

s = "some random string"

deq = deque(s)
deq.rotate(3)
print (deq)

# make it a string again
print("".join(deq))
The options I would like to see in my result.
The images of Pybites are very beautiful, but I wanted something different. For this I had to adjust a number of options. After examining the JSON file and URL, I found that I needed the following data:
- windowTheme (boxy);
- width (fixed width of the image = 680);
- widthAdjustment (false, because I give it a fixed width);
- dropShadow(true);
- dropShadowOffsetY(“20px”);
- dropShadowBlurRadius(“68px”);
- fontFamily (“JetBrains Mono”, must be installed on the computer);
- fontSize(“14px”);
- lineHeight(“155%”);
- paddingVertically(“35px”, how much padding at the bottom and top of the image);
- paddingHorizontally(“34px”, how much padding on the left and right side of the image).
Once I had this list of desired settings, I started adding them one by one to the code, each time checking whether all still worked. Luckily, because you can quickly make a typo in the code, the error messages were helpful and even hinted: “Did you mean …?”
Where do I want to save the images?
The code saved the images in the current working directory (os.getcwd()), but I didn’t want that. I had created a dedicated folder on my computer for the images so that they would all be in the same place and easy to find.
For this, I had to change the target directory. Because this is something that was not so well known to me, I had to use Google heavily and read many answers on Stack Overflow. Finally, I came to my answer, and what a fantastic feeling that gave me when I got it to work!
os.chdir("C:/Users/<username>/carbon-snippets")No default image name
I didn’t want the image’s default name (carbon.png) because that means that the new image overwrites the old image. I had to make sure that the images had unique names. After brainstorming about the best name I could give as a default, I concluded that it would be best to let the name consist of the date and time. Thus the idea arose to build the name from date-time-carbon.png.
However, changing the default name was difficult because the default name was passed in from the form on the website whose value was in a placeholder. Asking the right question on Google will get you closer to the answer on Stack Overflow. And then it’s a matter of adapting the given answers and examples to solve your problem. Additional code that did it:
new_file_name = driver.find_element_by_xpath("//input[@placeholder='carbon']")
new_file_name.clear()
new_file_name.send_keys(image_name_png)
Convert the date to your format
For naming the images, I used datetime.now() but the result was neither nice nor practical for the image name. I wanted the following format: 20220608-174726-carbon.png so datetime.now() had to be converted to a string. This can be achieved with datetime.now().strftime("%Y%m%d-%H%M%S"). I saved this format for the name of the image in a variable that send_keys (code above) could use:
image_date_time = datetime.now().strftime("%Y%m%d-%H%M%S")
image_name_png = f"{image_date_time}-carbon"
Converting the time was the last step in the process of modifying Pybites’ code to allow me to do the following:
- I can run the code from the terminal.
- Running the code will create an image on Carbon.
- This image has my adjustments.
- When the image is ready, it goes into the folder I specified.
- The image gets a customized name.
Result:
Conclusion of this way of working and learning
The main takeaway: it’s incredible how much you can learn from working with an open-source project!
And the feeling of euphoria every time you complete a task from your to-do list and thus get closer to the end goal is amazing.
Often it was a matter of daring: incorporate the code I found online into my code, see what it did, then test the result. If the code didn’t work, I found out why. I started looking for a new solution with the newly acquired knowledge until it worked!
My final conclusion from working with an open-source project: you can learn things from courses, but I am convinced that JIT Learning is a much better way of learning for me. In other words, Just In Time Learning has stolen my heart 💓
Keep calm and code in Python!
Leonieke