In this article I will show you how to build a simple API for our growing collection of Python tips:
- First we make a simple Django app, defining the model.
- Next we use Django REST Framework to make an API supporting common CRUD operations.
- Then we will test it out using curl, Postman and Django REST’s browser front-end.
- Lastly we deploy the API to Digital Ocean so we can start using it via our Slack with a Slash Command, which I will cover in the next article.
Sounds exciting? You bet it is! Let’s jump straight in!
Setup
If you want to follow along, the final code is here.
First we make a virtual environment and pip install the requirements which include:
djangoto build the app,django-restto build the API,bs4(BeautifulSoup) andrequeststo parse the existing tips from our platform,psycopg2andgunicornfor deployment on Digital Ocean.
So here we go:
[bobbelderbos@imac code]$ mkdir tips_api && cd $_
[bobbelderbos@imac tips_api]$ alias pvenv
alias pvenv='/Library/Frameworks/Python.framework/Versions/3.7/bin/python3.7 -m venv venv && source venv/bin/activate'
[bobbelderbos@imac tips_api]$ pvenv
(venv) [bobbelderbos@imac tips_api]$ python -V
Python 3.7.0
(venv) [bobbelderbos@imac tips_api]$ pip install -r requirements.txt
...
Let’s set the following 2 environment variables as referenced in Django’s settings.py file later on:
(venv) [bobbelderbos@imac tips_api (master)]$ deactivate
[bobbelderbos@imac tips_api (master)]$ vi venv/bin/activate
...
export SECRET_KEY='some-secret-string'
export DEBUG=True
Then activate the venv:
[bobbelderbos@imac tips_api (master)]$ source venv/bin/activate
(venv) [bobbelderbos@imac tips_api (master)]$
It’s also important to set ALLOWED_HOSTS, but as we will see later I have it default to localhost which is fine for my local env.
Create a Django project and app
Let’s make a Django project in the current directory (.):
(venv) [bobbelderbos@imac tips_api]$ django-admin.py startproject tips .
Ignoring my virtual env folder, Django created this minimalistic project folder structure, tips being our main app:
$ tree -I venv
.
├── manage.py
├── requirements.txt
└── tips
    ├── __init__.py
    ├── settings.py
    ├── urls.py
    └── wsgi.py

1 directory, 6 files
And let’s make our api app to keep it isolated from the rest:
(venv) [bobbelderbos@imac tips_api]$ django-admin.py startapp api
(venv) [bobbelderbos@imac tips_api]$ tree -I venv
.
├── api
│   ├── __init__.py
│   ├── admin.py
│   ├── apps.py
│   ├── migrations
│   │   └── __init__.py
│   ├── models.py
│   ├── tests.py
│   └── views.py
...
Lastly we need to tell Django about both apps in tips/settings.py -> INSTALLED_APPS. We also add rest_framework here for later use:
INSTALLED_APPS = [
    ...
    'rest_framework',
    ...
    'tips',
    'api',
]
The model
Looking at the original model on our platform we see the following fields:

As we saw last time the share_link is to be populated by an admin when we share out a tip with a nice carbon image.
Let’s build our model tips/models.py using these fields.
I am also creating an Author model to store Twitter and Slack handles from future contributing users. The former to give credit when we share their tips on Twitter, the latter to store the author of the tip when we start receiving them from Slack (next article).
Thinking about (predicting) tomorrow’s requirement is one of the fascinating things about software development!
from django.contrib.auth.models import User
from django.db import models
from django.db.models.signals import post_save
from django.dispatch import receiver


class Tip(models.Model):
    tip = models.TextField()
    code = models.TextField(blank=True, null=True)
    link = models.URLField(blank=True, null=True)

    # set by admin
    approved = models.BooleanField(default=False)
    share_link = models.URLField(blank=True, null=True)

    added = models.DateTimeField(auto_now_add=True)
    edited = models.DateTimeField(auto_now=True)
    user = models.ForeignKey(User, on_delete=models.CASCADE)


class Author(models.Model):
    """Extending the standard User model:
    https://simpleisbetterthancomplex.com/tutorial/2016/07/22/how-to-extend-django-user-model.html
    """
    user = models.OneToOneField(User, on_delete=models.CASCADE)
    slack_handle = models.CharField(max_length=30, unique=True)
    twitter_handle = models.CharField(max_length=30)


@receiver(post_save, sender=User)
def create_user_author(sender, instance, created, **kwargs):
    if created:
        Author.objects.create(user=instance)


@receiver(post_save, sender=User)
def save_user_author(sender, instance, **kwargs):
    instance.author.save()
The Tip model should be pretty straightforward. Note the User ForeignKey in Tip to give them owners.
I added @receivers to Django’s native User model to detect when a new user gets created. When that happens a new Author instance is created as well.
This is one way to extend Django’s User model which I learned about here.
Now it’s time to make the migration files and migrate (sync) the two new models to the database.
As it’s the first time we call migrate all models that come with Django out of the box, get synced to the DB as well. I am using the default sqlite3 DB for now, but I should probably change that to Postgres to mirror deployment to Digital Ocean.
(venv) [bobbelderbos@imac tips_api (master)]$ python manage.py makemigrations tips
Migrations for 'tips':
tips/migrations/0001_initial.py
    - Create model Author
    - Create model Tip

(venv) [bobbelderbos@imac tips_api (master)]$ python manage.py migrate
Operations to perform:
Apply all migrations: admin, auth, contenttypes, sessions, tips
Running migrations:
Applying contenttypes.0001_initial... OK
Applying auth.0001_initial... OK
Applying admin.0001_initial... OK
Applying admin.0002_logentry_remove_auto_add... OK
Applying admin.0003_logentry_add_action_flag_choices... OK
Applying contenttypes.0002_remove_content_type_name... OK
Applying auth.0002_alter_permission_name_max_length... OK
Applying auth.0003_alter_user_email_max_length... OK
Applying auth.0004_alter_user_username_opts... OK
Applying auth.0005_alter_user_last_login_null... OK
Applying auth.0006_require_contenttypes_0002... OK
Applying auth.0007_alter_validators_add_error_messages... OK
Applying auth.0008_alter_user_username_max_length... OK
Applying auth.0009_alter_user_last_name_max_length... OK
Applying sessions.0001_initial... OK
Applying tips.0001_initial... OK
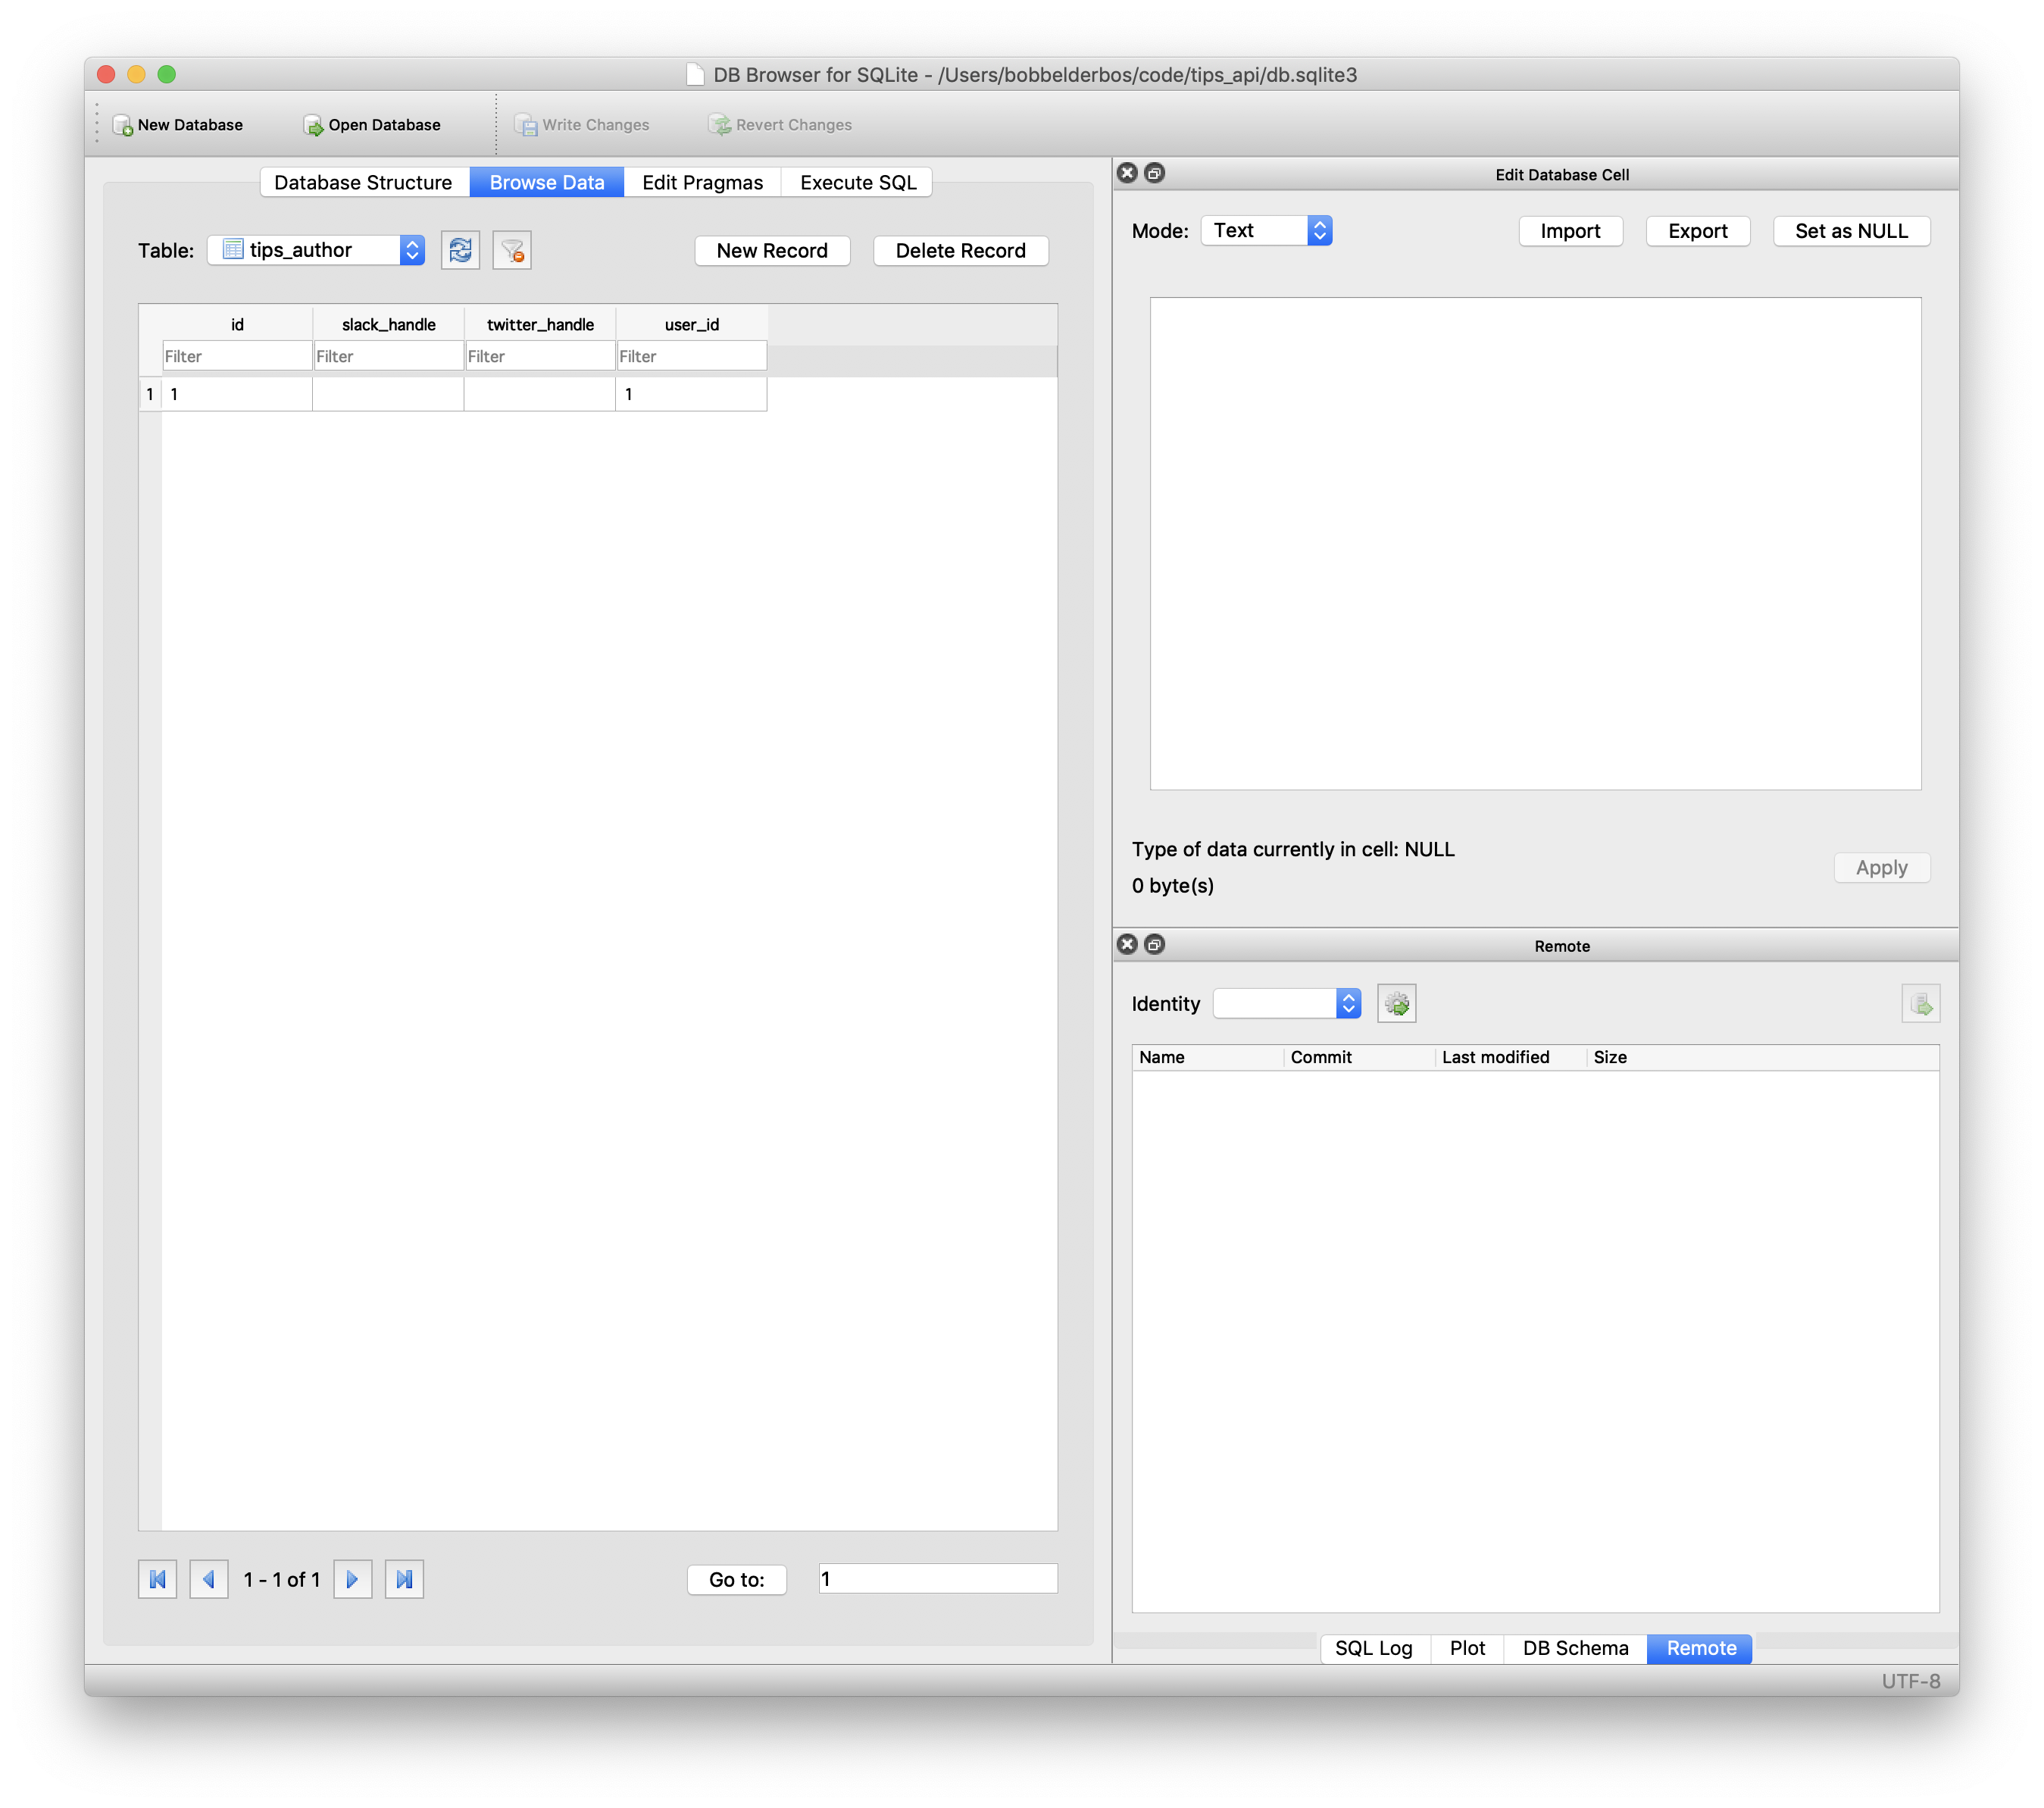
Let’s create a superuser pybites to access the app and see if the Author entry was created as well
$ python manage.py createsuperuser
Username (leave blank to use 'bobbelderbos'): pybites
Email address:
Password:
Password (again):
Superuser created successfully.
Great: that created both a User and an Author instance in our DB. I am using DB Browser for SQLite to query my local DB here:

Import Tips from our Platform
Next we want to retrieve the tips currently on our platform so I coded up a Django command to parse them and save them to our new tips Database.
(venv) [bobbelderbos@imac tips_api (master)]$ cd tips/
(venv) [bobbelderbos@imac tips (master)]$ mkdir -p management/commands
(venv) [bobbelderbos@imac tips (master)]$ cd $_
(venv) [bobbelderbos@imac commands (master)]$ vi sync_tips.py
Here is the code I mostly re-used from last week’s article: Generating Beautiful Code Snippets with Carbon and Selenium:
import sys

from bs4 import BeautifulSoup
import requests

from django.contrib.auth.models import User
from django.core.management.base import BaseCommand

from tips.models import Tip

PYBITES = 'pybites'
PYBITES_HAS_TWEETED = f'{PYBITES}/status'
TIPS_PAGE = 'https://codechalleng.es/tips'


class Command(BaseCommand):
    """Quick and dirty, using bs4 from last article:
    https://github.com/pybites/blog_code/blob/master/tips/tips.py

    About django-admin commands:
    https://docs.djangoproject.com/en/2.1/howto/custom-management-commands/
    """
    help = 'Script to insert pybites tips from platform'

    def handle(self, *args, **options):
        try:
            user = User.objects.get(username=PYBITES)
        except User.DoesNotExist:
            error = 'Cannot run this without SU pybites'
            sys.exit(error)

        html = requests.get(TIPS_PAGE)
        soup = BeautifulSoup(html.text, 'html.parser')
        trs = soup.findAll("tr")

        new_tips_created = 0
        for tr in trs:
            tds = tr.find_all("td")
            tip_html = tds[1]

            links = tip_html.findAll("a", class_="left")
            first_link = links[0].attrs.get('href')

            pre = tip_html.find("pre")
            code = pre and pre.text or None

            share_link = None
            if PYBITES_HAS_TWEETED in first_link:
                share_link = first_link

            tip = tip_html.find("blockquote").text
            src = len(links) > 1 and links[1].attrs.get('href') or None

            _, created = Tip.objects.get_or_create(tip=tip, code=code,
                                                   link=src, user=user,
                                                   approved=True,
                                                   share_link=share_link)

            if created:
                new_tips_created += 1

        print(f'Done: {new_tips_created} tips imported')
It scrapes the page with requests and BeautifulSoup. Originally I kept a list of Tip objects and used Django’s ORM bulk_create method to write them to the DB in one transaction which is neat.
However I found it nicer to make it work like an update script, in case the platform gets new tips in the interim. Calling the script again should just insert the newer tips.
For that reason I went with Django’s handy Tip.objects.get_or_create which will create the tip if nothing matches the kwargs passed in, otherwise it will return the object (which I ignore using _). This way it will only create a tip if not already in the DB.
Let’s run this:
(venv) [bobbelderbos@imac tips_api (master)]$ python manage.py sync_tips
Done: 92 tips imported
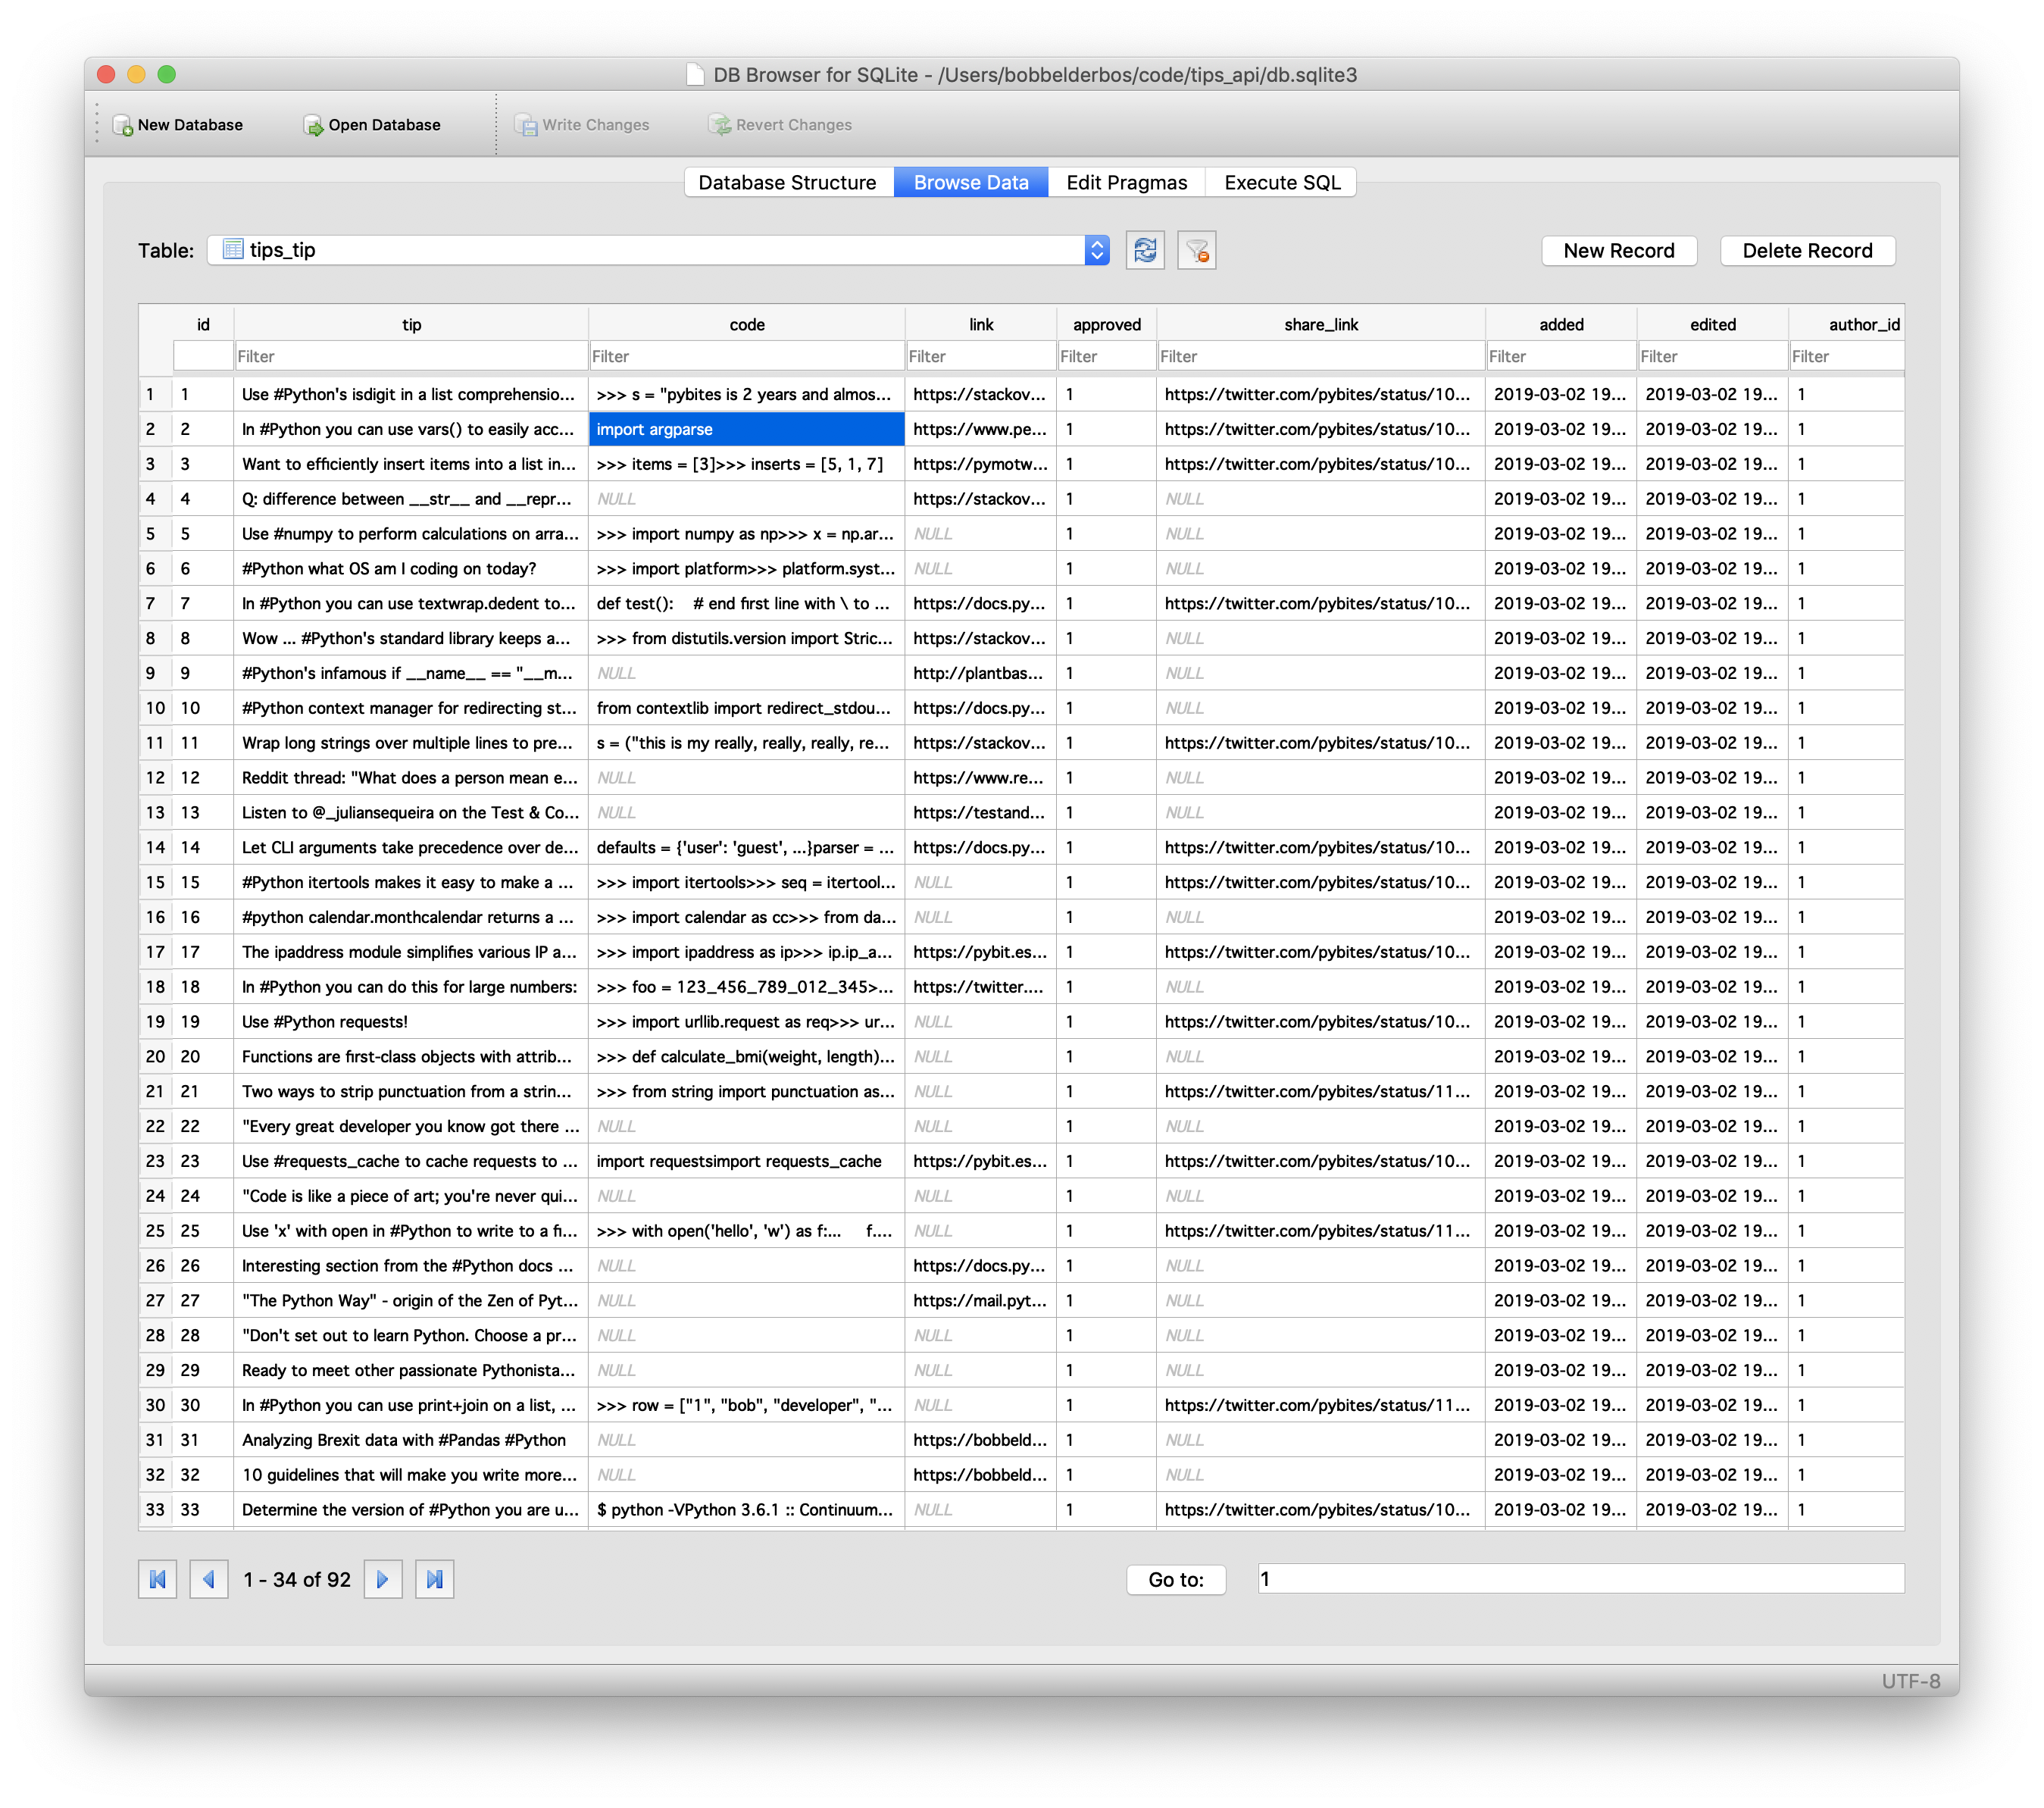
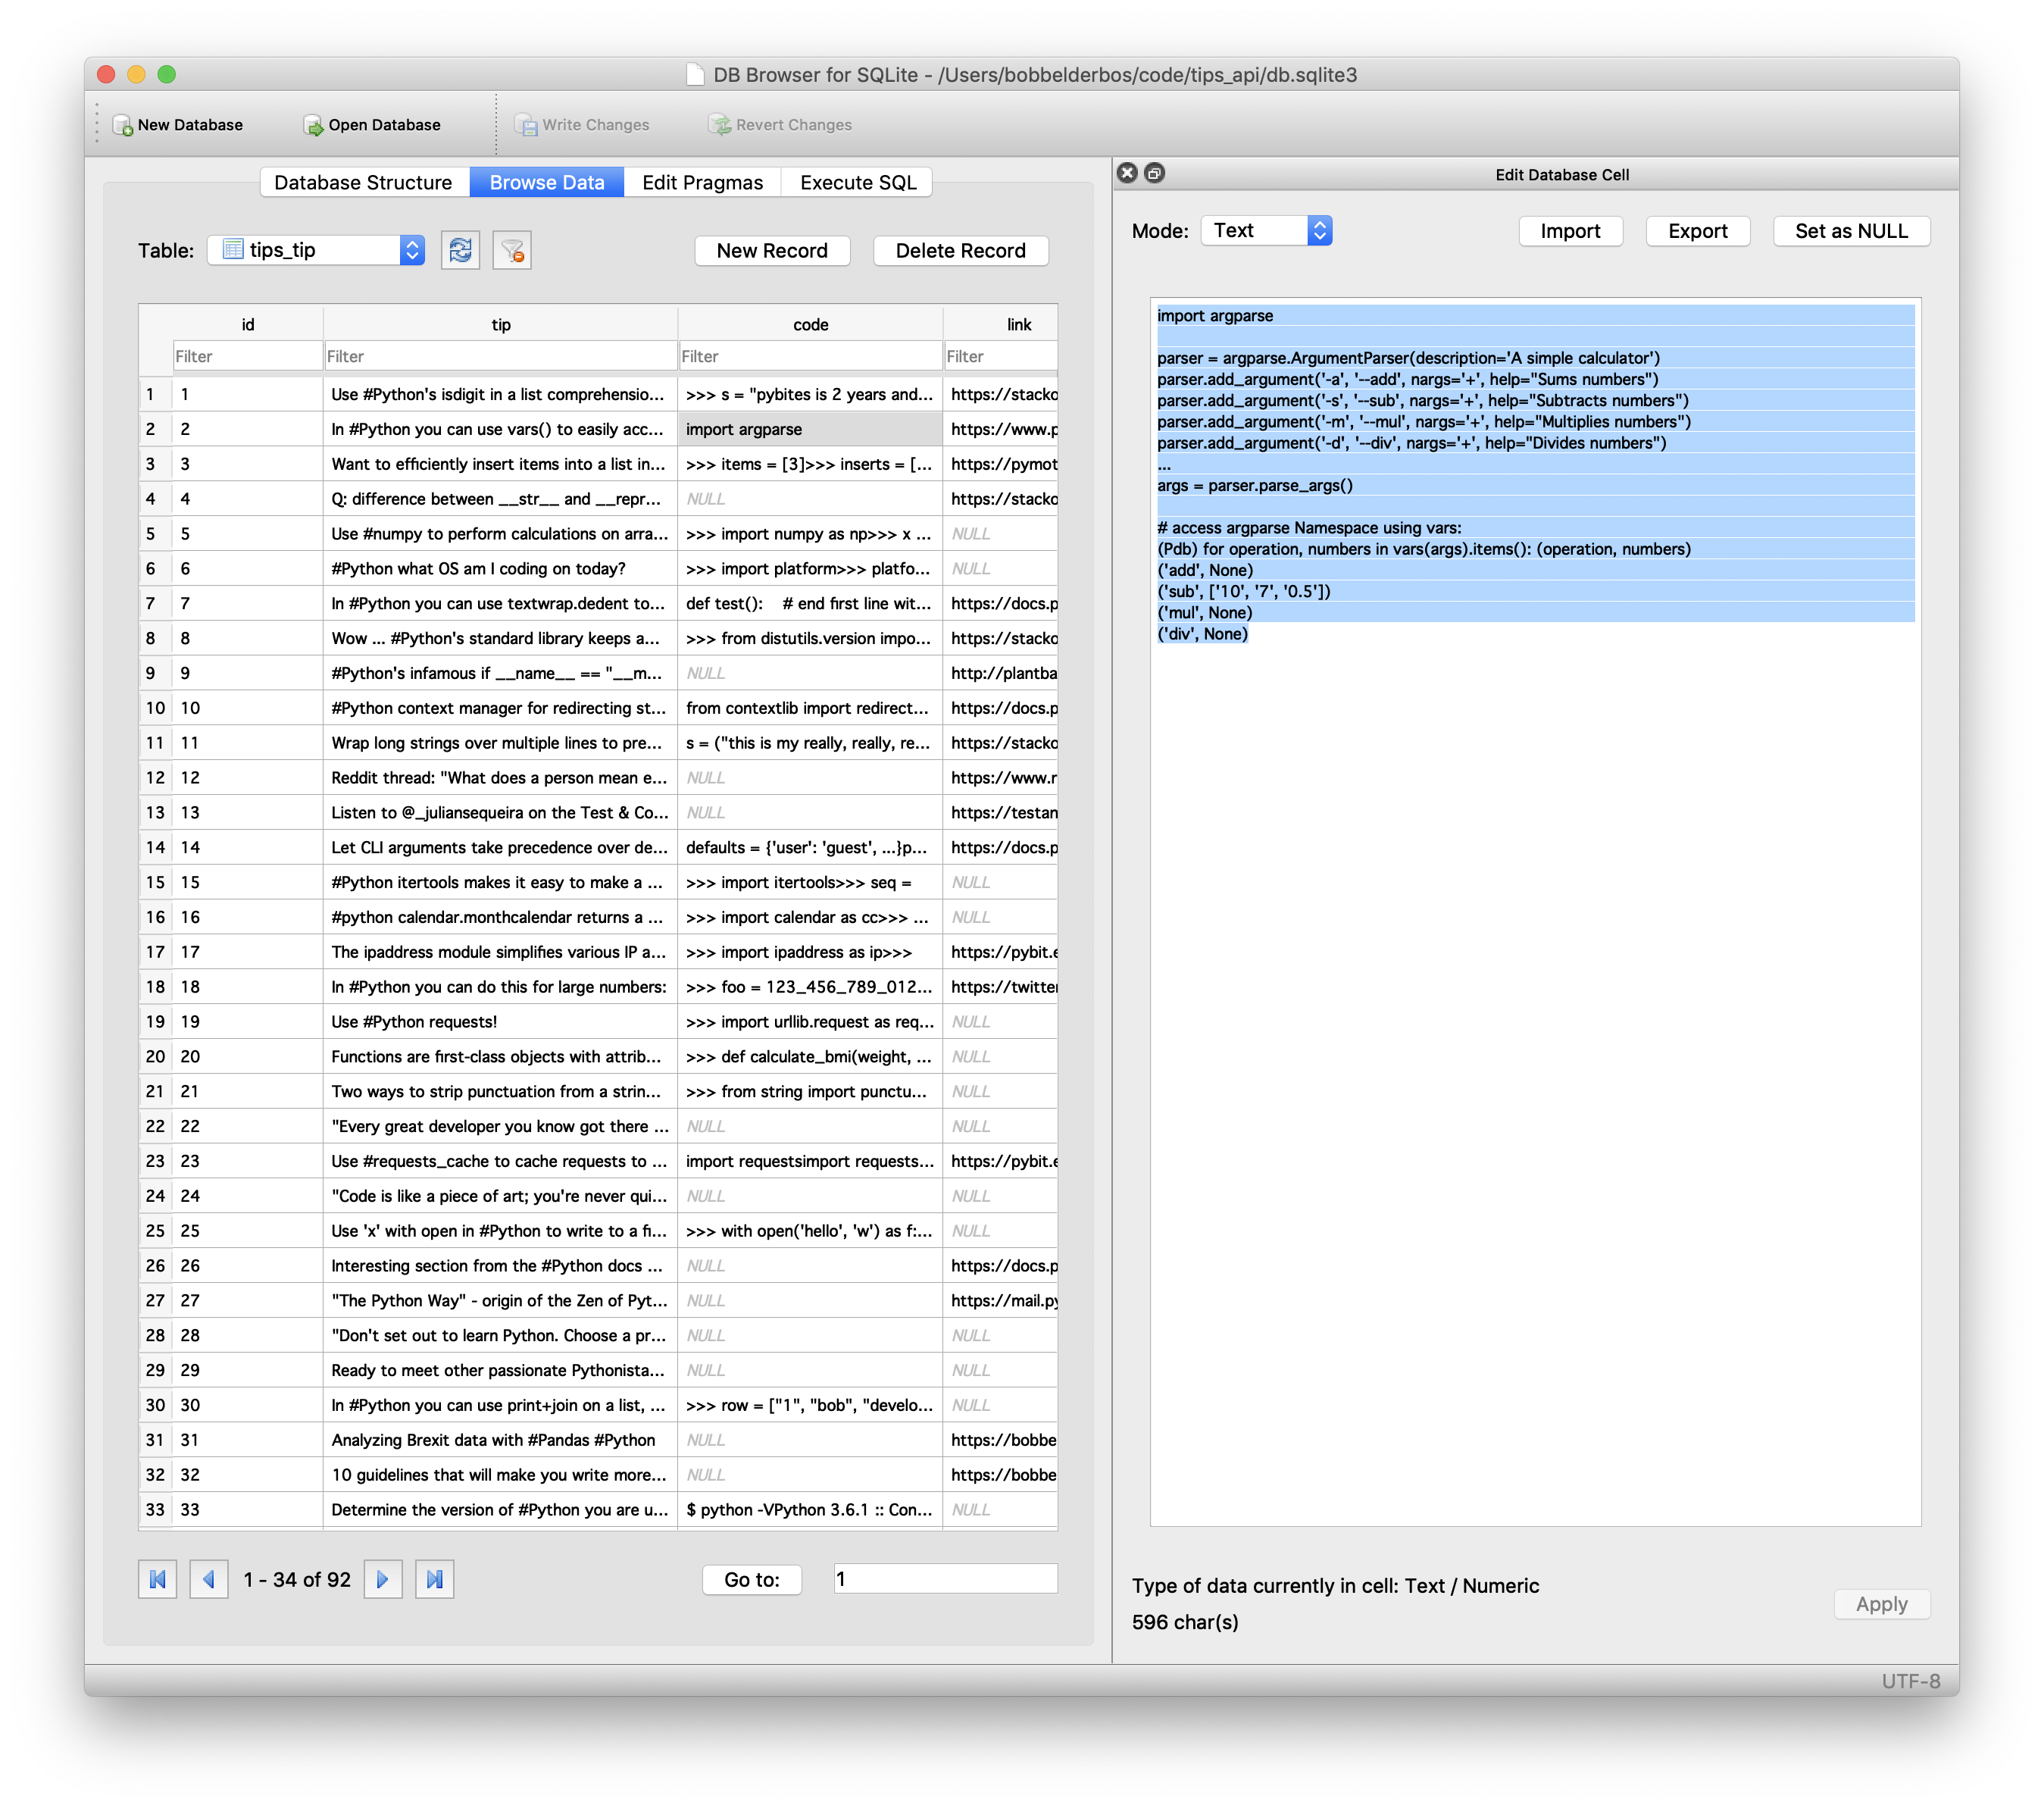
Awesome: we have our tips in the DB and you now know how to write a Django Command! Just extend BaseCommand, implement handle and save the script in a subdirectory called management/commands in your app folder.
Build an API with Django REST Framework
Let’s build the API next. We already added rest_framework to INSTALLED_APPS. Let’s also set the permissions to DjangoModelPermissionsOrAnonReadOnly which seems to match what we want:
Similar to
DjangoModelPermissions(permission class ties into Django’s standarddjango.contrib.authmodel permissions), but also allows unauthenticated users to have read-only access to the API.
In tips/settings.py I am adding the REST_FRAMEWORK dict, setting DEFAULT_PERMISSION_CLASSES:
REST_FRAMEWORK = {
    # Use Django's standard `django.contrib.auth` permissions,
    # or allow read-only access for unauthenticated users.
    'DEFAULT_PERMISSION_CLASSES': [
        'rest_framework.permissions.DjangoModelPermissionsOrAnonReadOnly'
    ]
}
Serializers
Next we need a serializer which Django REST defines as:
Serializers allow complex data such as querysets and model instances to be converted to native Python datatypes that can then be easily rendered into JSON, XML or other content types. Serializers also provide deserialization, allowing parsed data to be converted back into complex types, after first validating the incoming data.
In api/serializers.py I added this code which should look familiar if you have worked with the Django Form class:
from rest_framework import serializers

from tips.models import Tip


class TipSerializer(serializers.ModelSerializer):
    author = serializers.RelatedField(read_only=True)

    class Meta:
        model = Tip
        fields = ('tip', 'code', 'link', 'author', 'approved', 'share_link')
You probably don’t have to define fields if you want them all, but being explicit is usually not a bad thing.
Views
Next the views. Again Django REST Framework’s great level of abstraction saves us a lot of boilerplate code. We can just extend some useful classes defined in generics:
from rest_framework import generics

from tips.models import Tip
from .serializers import TipSerializer
from .permissions import IsOwnerOrReadOnly


class TipList(generics.ListCreateAPIView):
    """
    get:
    Return a list of all tips in the DB.

    post:
    Create an awesome new tip.
    """
    queryset = Tip.objects.all()
    serializer_class = TipSerializer


class TipDetail(generics.RetrieveUpdateDestroyAPIView):
    """
    get:
    Return an individual tip.

    put:
    Update an existing tip.

    delete:
    Delete a single tip.
    """
    permission_classes = (IsOwnerOrReadOnly, )
    queryset = Tip.objects.all()
    serializer_class = TipSerializer
Note that I structured the docstrings in a way to easily add documentation using a tool like Swagger in the future.
Permissions
In the TipDetail view we defined a customized permission class called IsOwnerOrReadOnly which we need to define next in api/permissions.py (code from second example here).
The following code in that module will grant read access to any safe methods (GET, OPTIONS and HEAD) and edit right for users that have authored (“own”) tips.
from rest_framework import permissions


class IsOwnerOrReadOnly(permissions.BasePermission):
    """
    Make sure only owners of tips can edit them.
    """

    def has_object_permission(self, request, view, obj):
        # Read permissions are allowed to any request,
        # so we'll always allow GET, HEAD or OPTIONS requests.
        if request.method in permissions.SAFE_METHODS:
            return True

        # Instance must have an attribute named `owner`.
        return obj.user == request.user
obj.user refers to the ForeignKey we defined on the Tip model:
class Tip(models.Model):
    ...
    user = models.ForeignKey(User, on_delete=models.CASCADE)
Routes
And finally to be able to access the routes let’s set up our urlpatterns in api/urls.py:
from django.urls import path, include

from .views import TipList, TipDetail

urlpatterns = [
    path('', TipList.as_view()),
    path('', TipDetail.as_view()),
    path('admin/', include('rest_framework.urls')),
]
And in the main app’s router file (tips/urls.py) include the api one like this:
from django.urls import path, include

urlpatterns = [
    path(r'api/', include('api.urls')),
]
And that’s it! Let’s launch the server and check out our new API next …
(venv) [bobbelderbos@imac tips_api (master)]$ python manage.py runserver
...
Starting development server at http://127.0.0.1:8000/
Verify it works
We can consume our API with various tools:
curl
Nice and easy:
[bobbelderbos@imac ~]$ curl http://127.0.0.1:8000/api/4
{"tip":"Q: difference between __str__ and __repr__ in #Python? A: \"My rule of thumb:  __repr__ is for developers, __str__ is for customers.\" (Ned Batchelder on SO)","code":null,"link":"https://stackoverflow.com/a/1438297","user":1,"approved":true,"share_link":null}
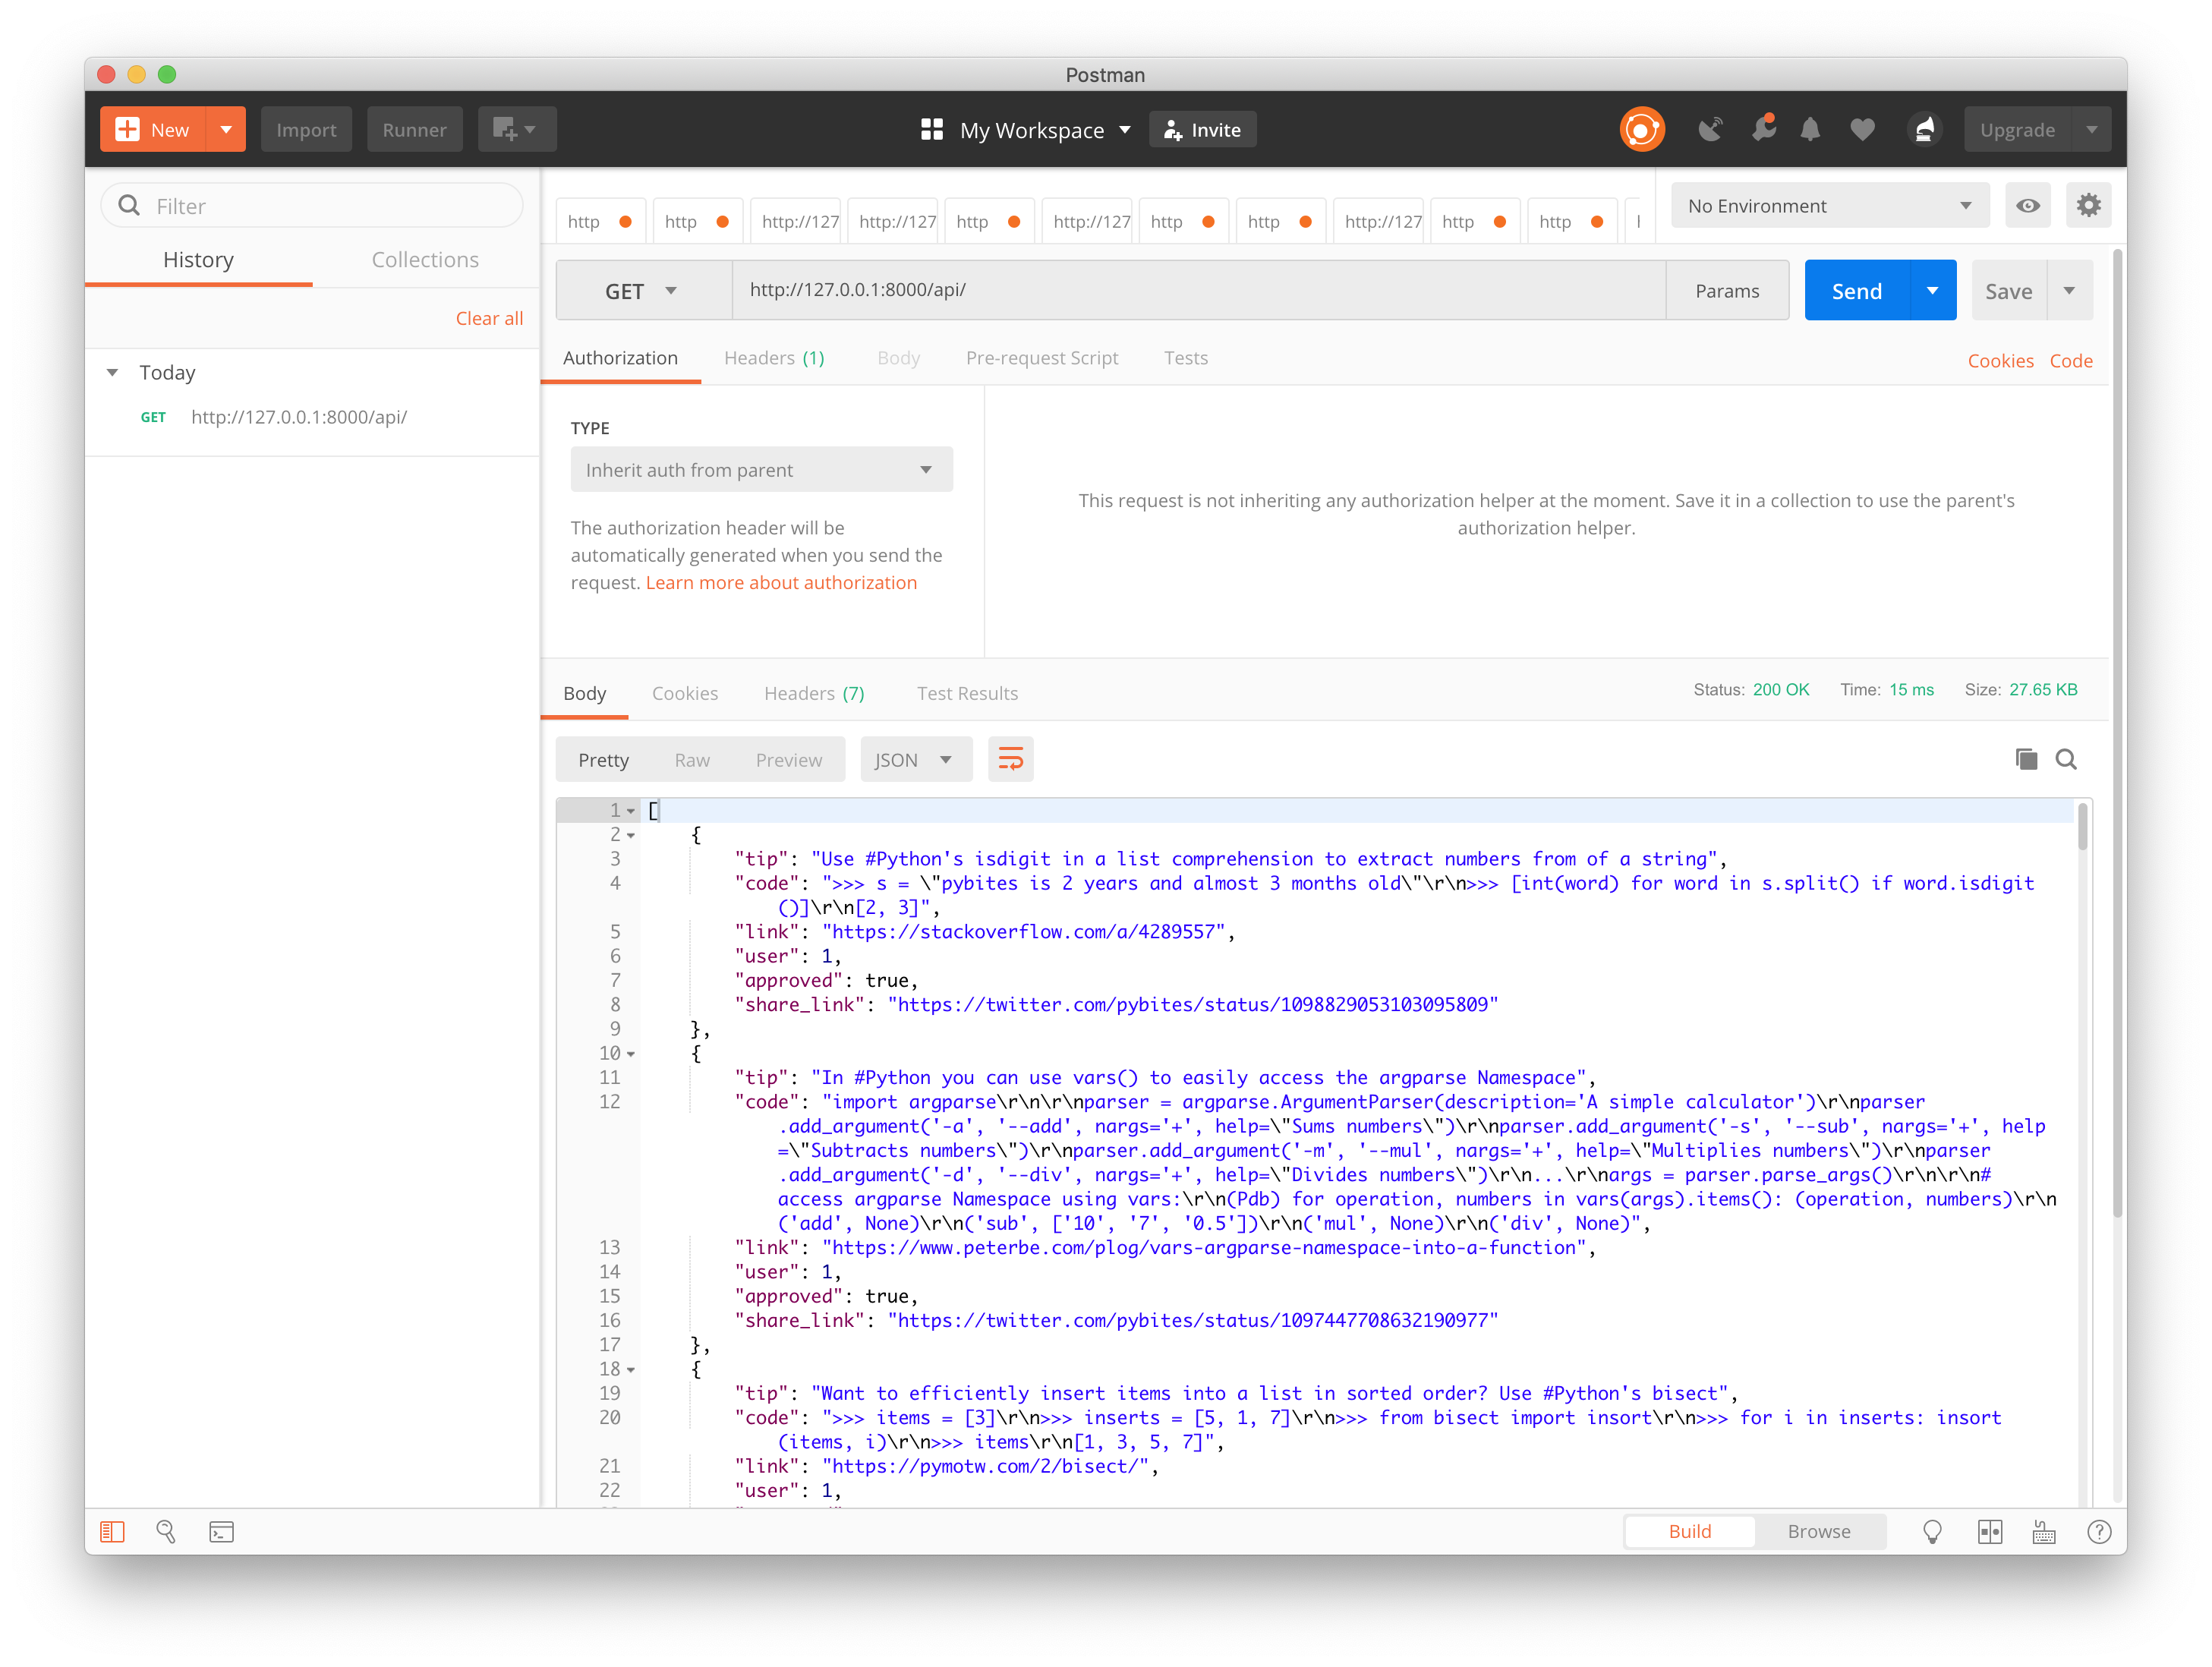
Postman
Postman Simplifies API Development. You can download it here.
Get all tips:
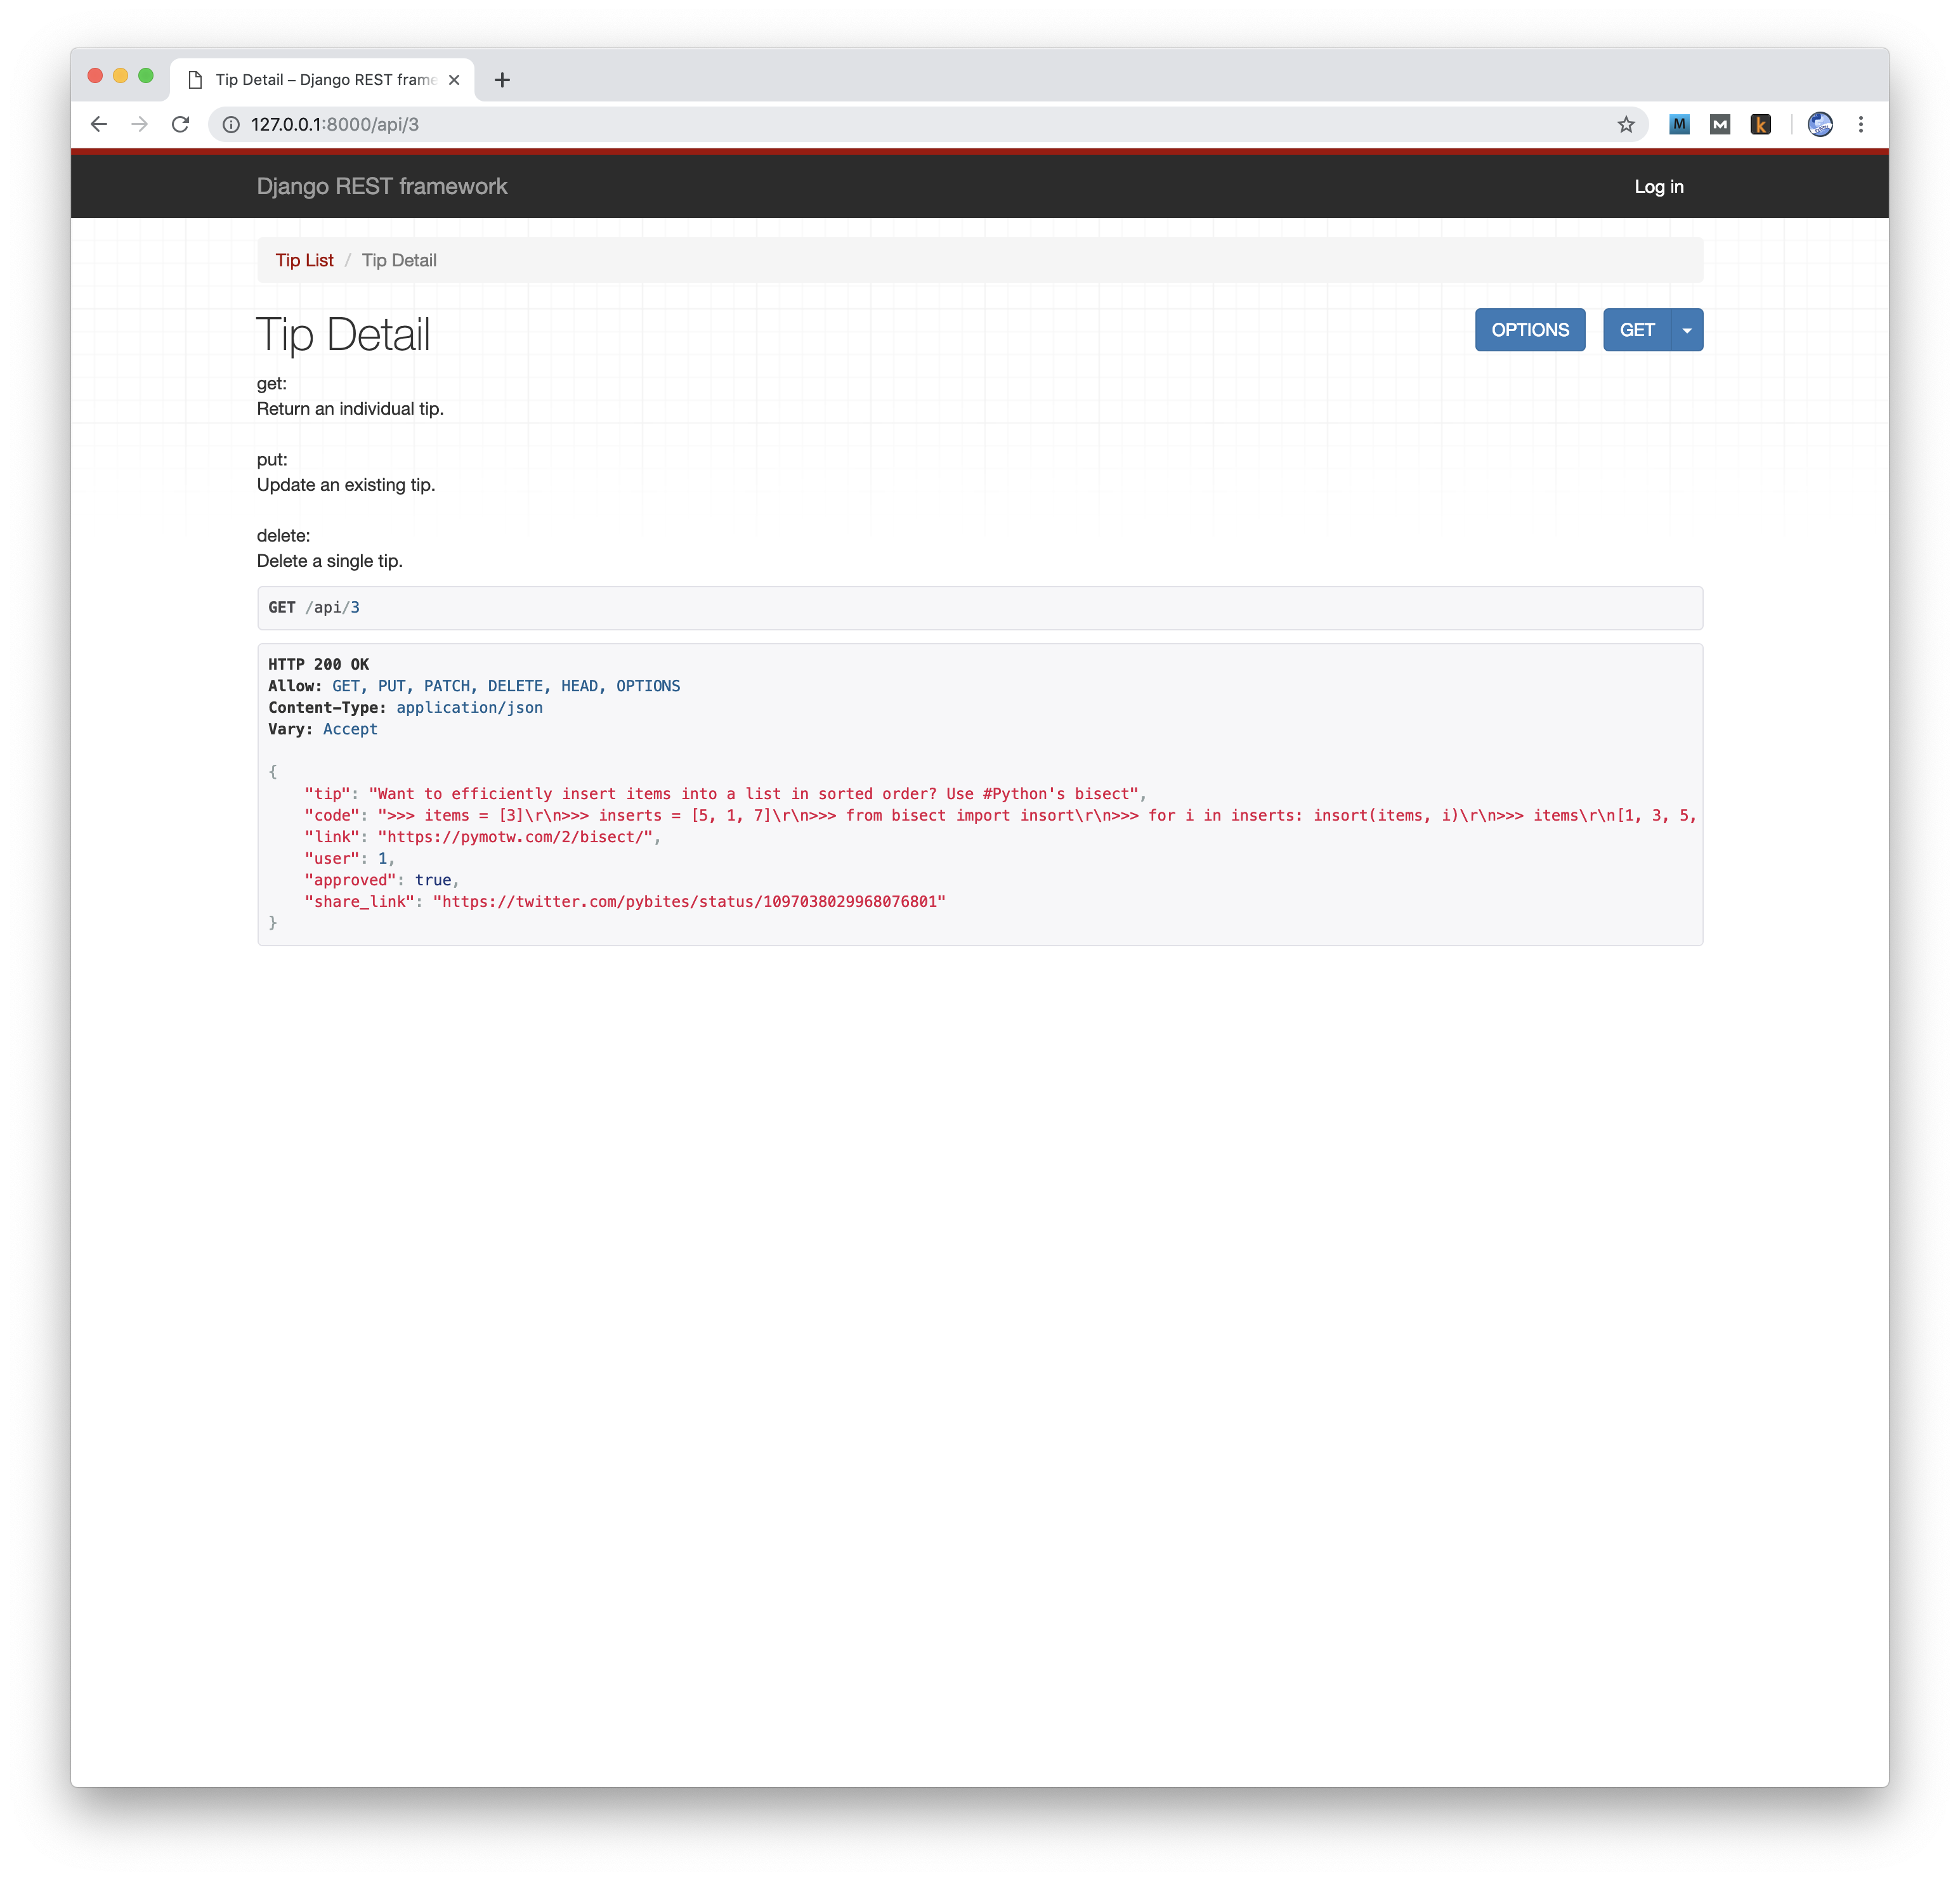
Get a single tip:

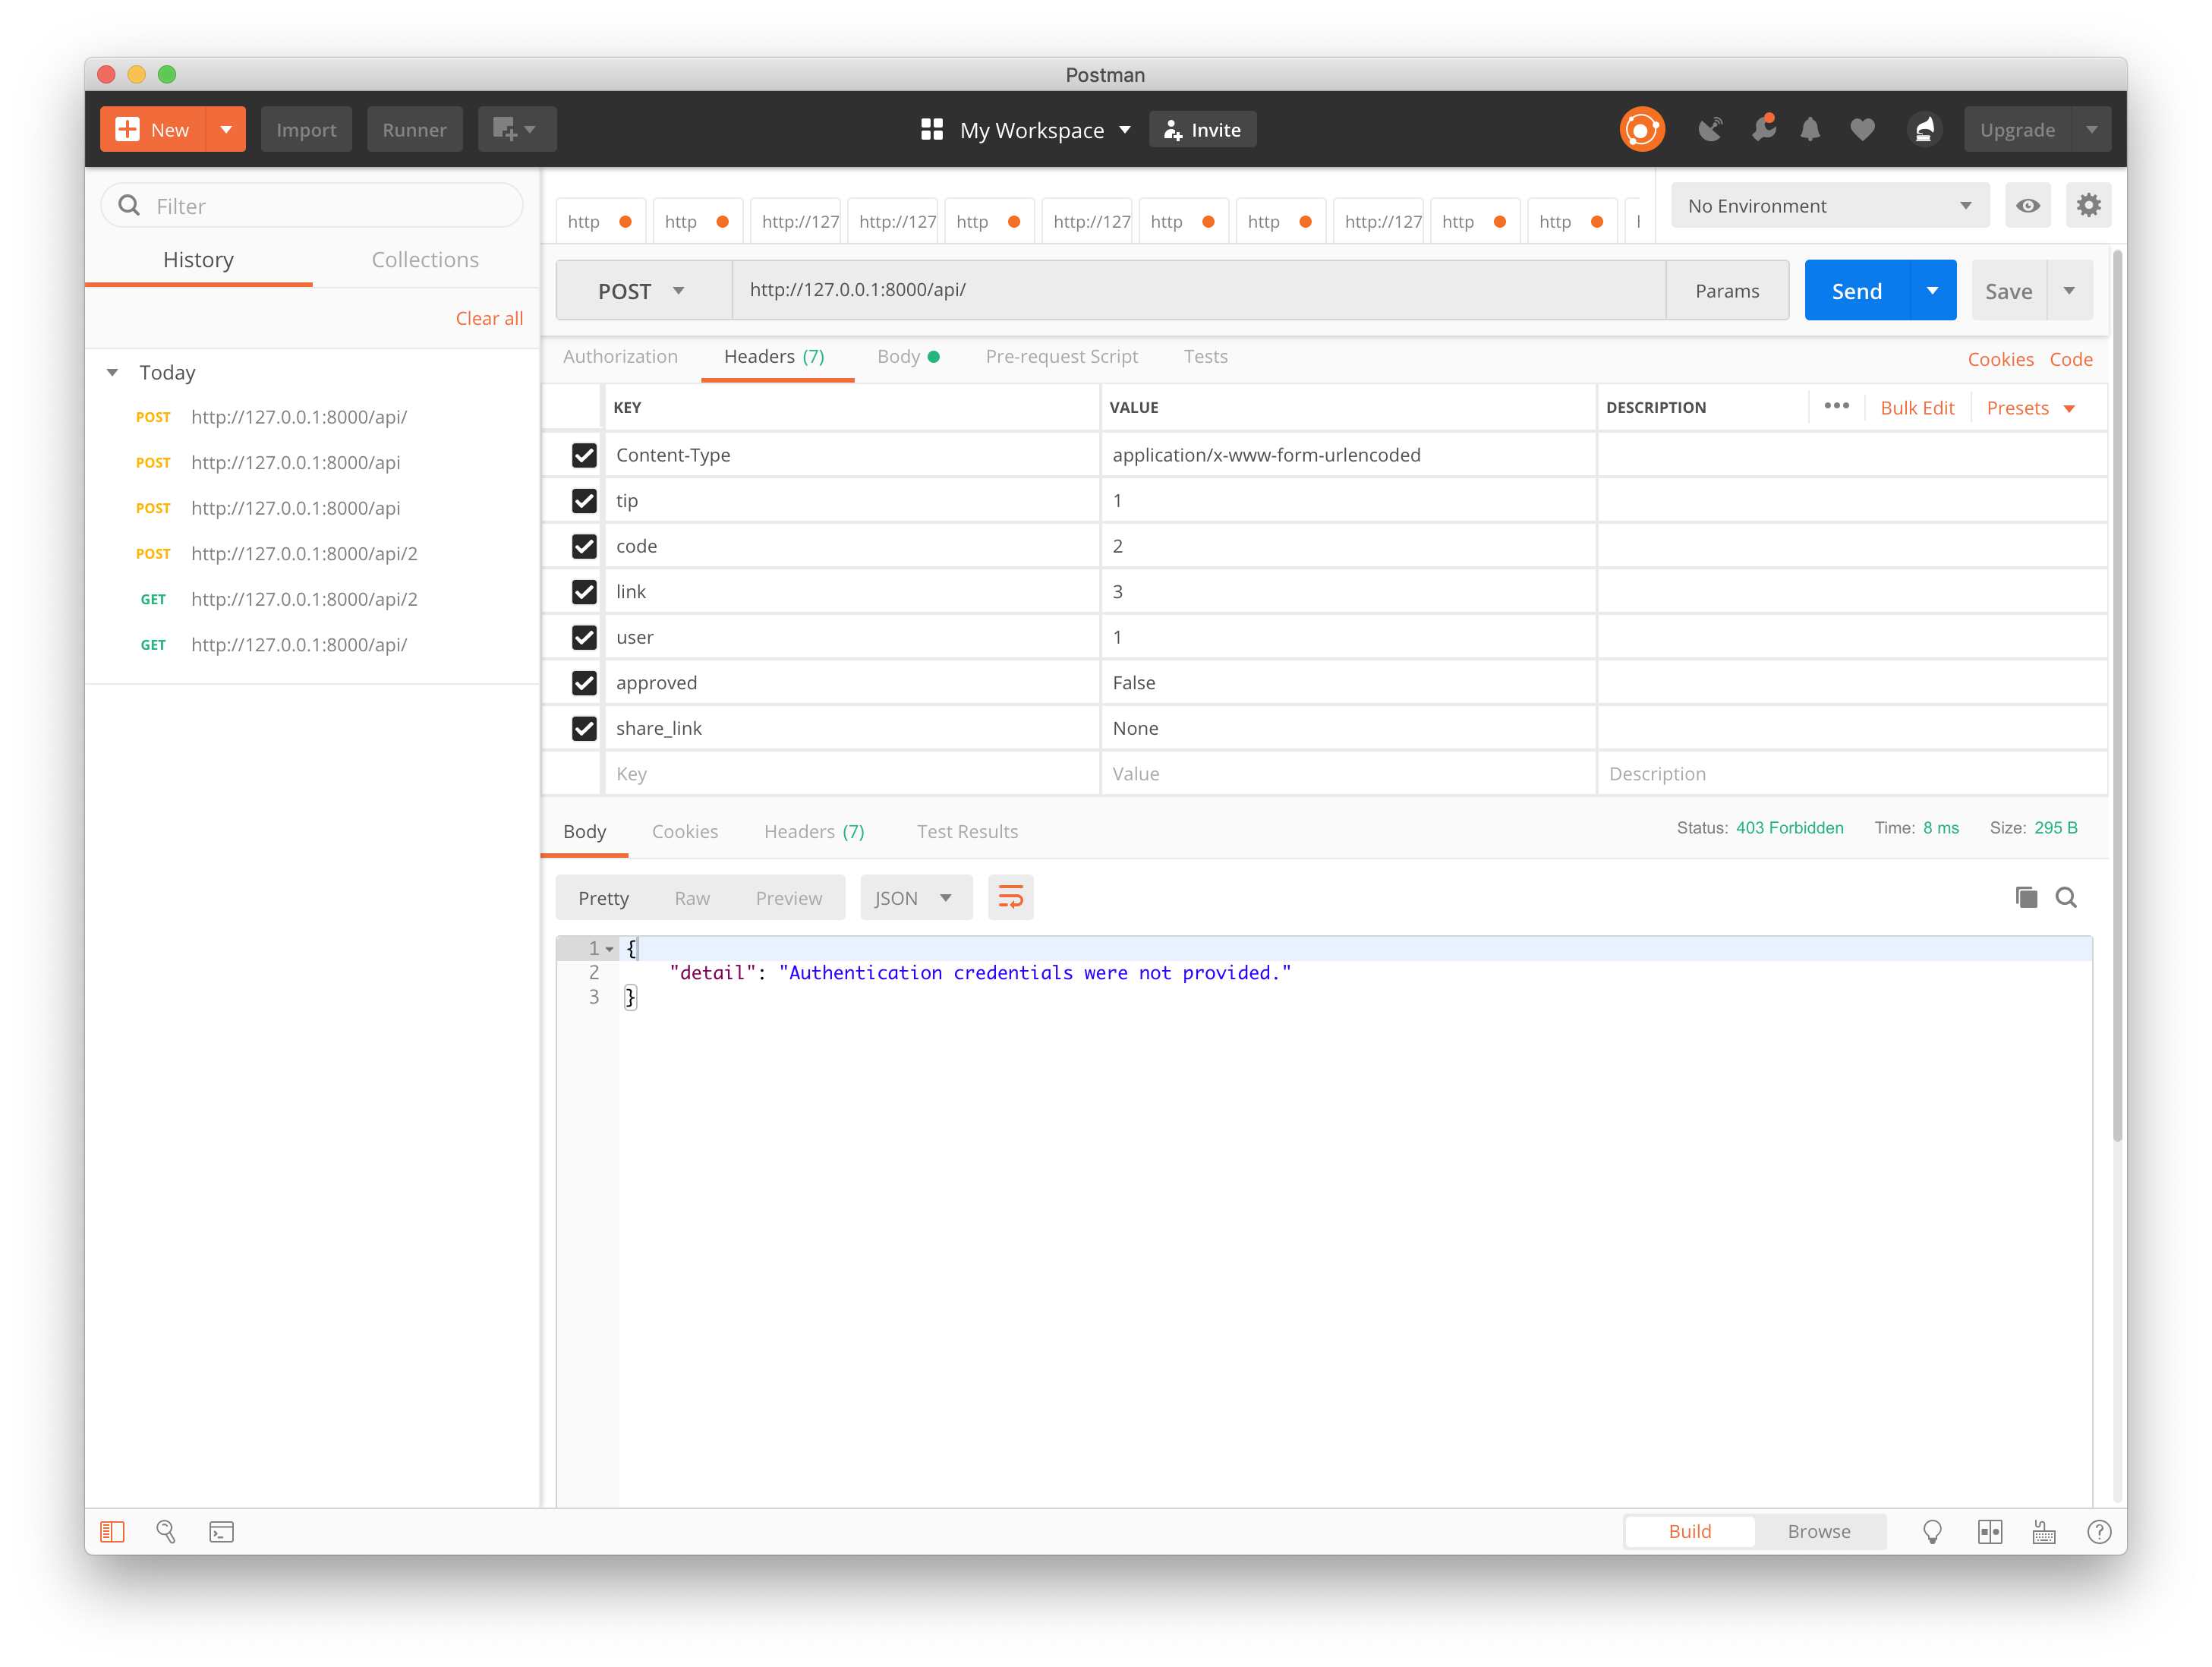
Verify I cannot post without login:
Django REST Framework
Django REST provides a really nice browser interface to play with our new API:
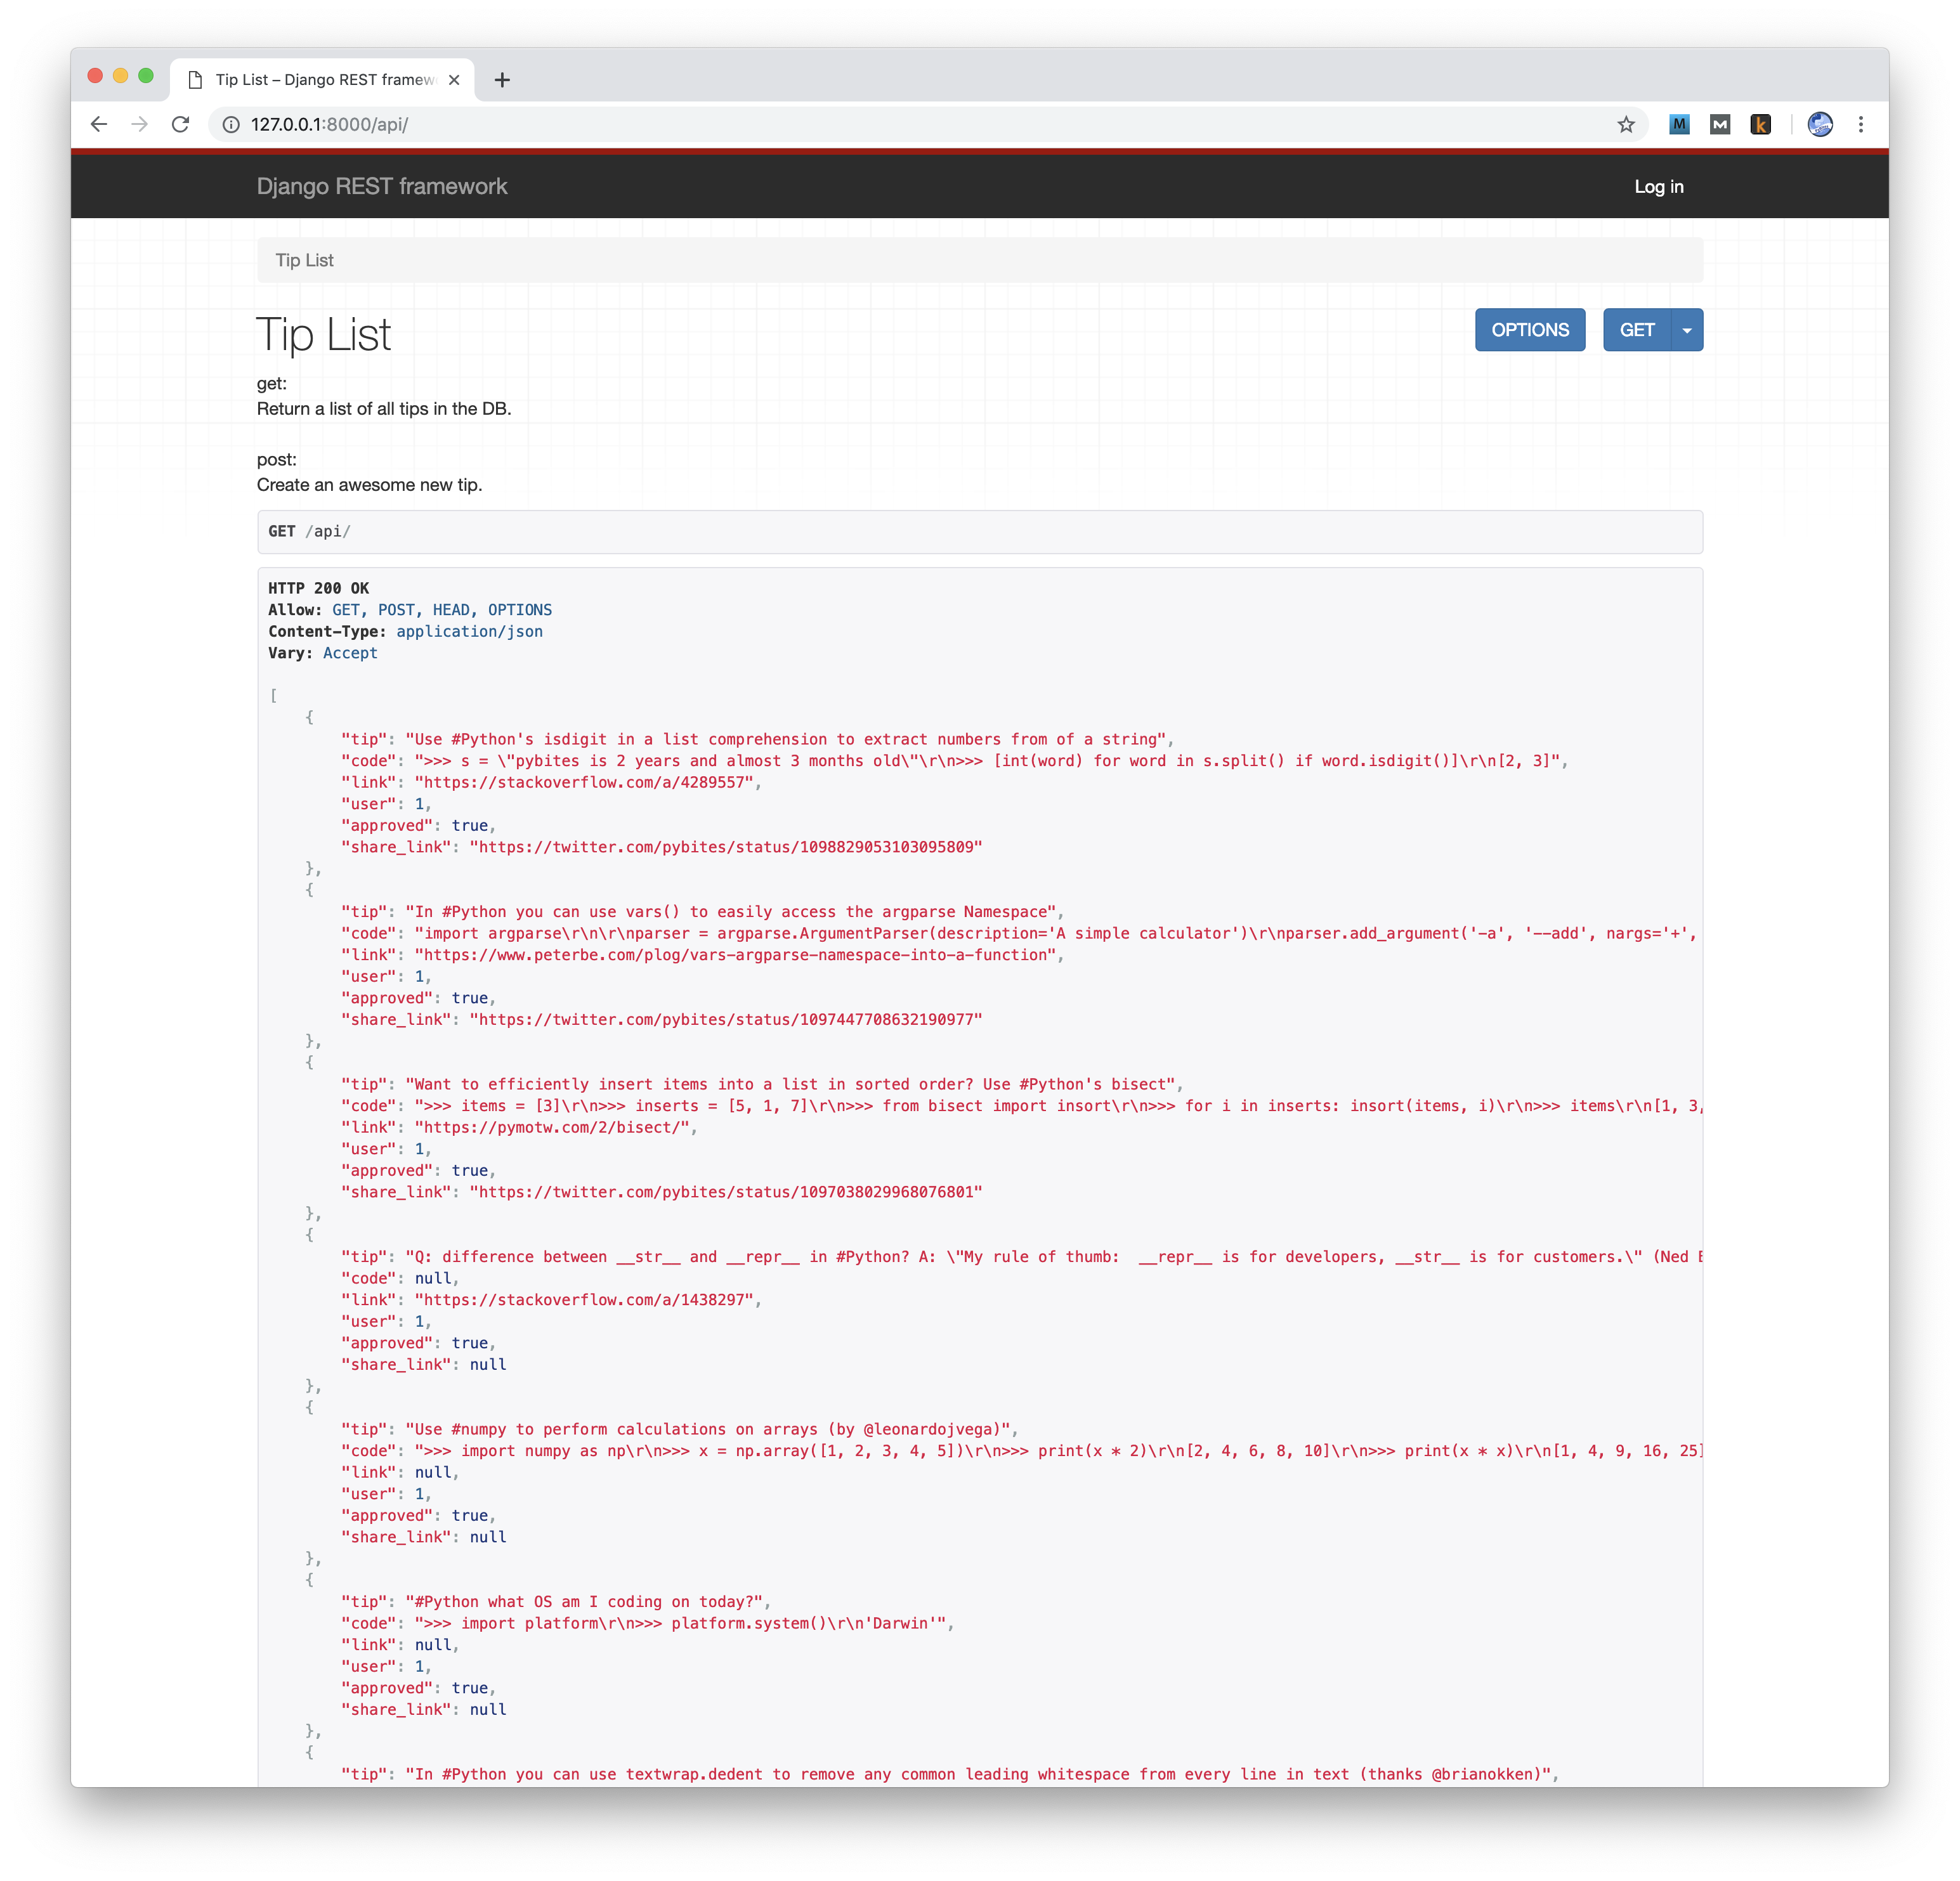
As I am an anonymous user I don’t see any edit options:
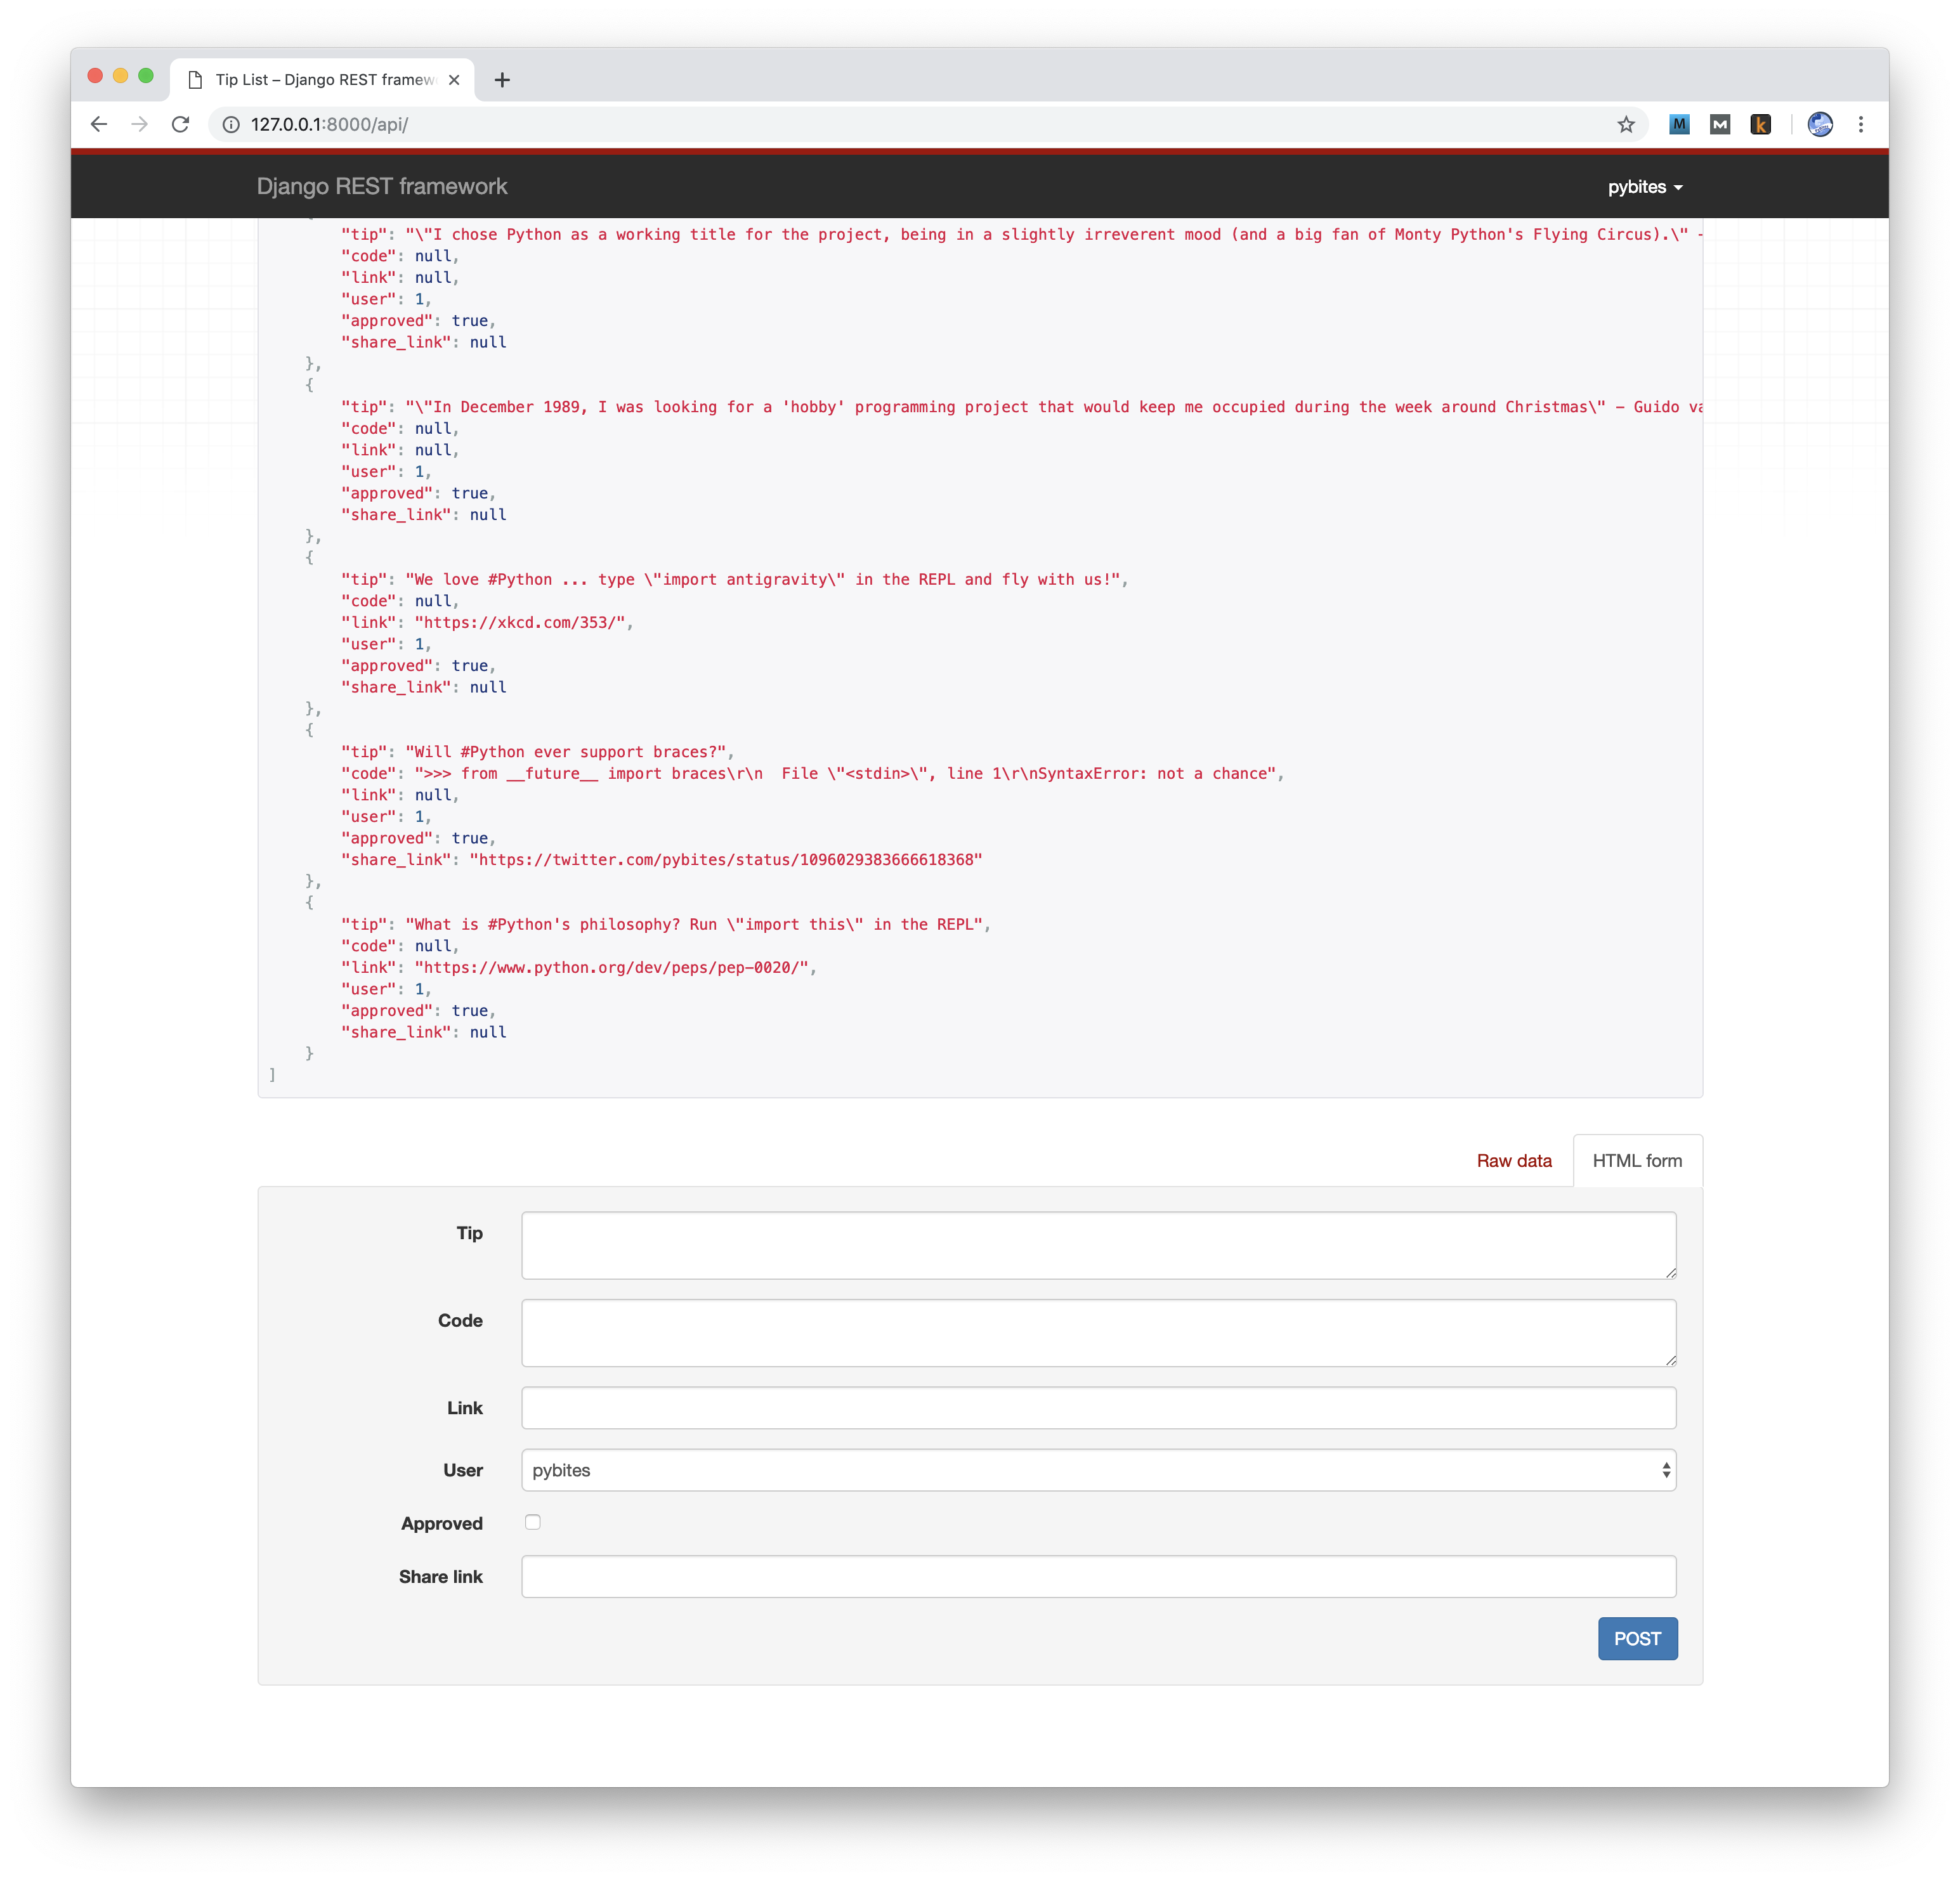
When I log in as my superuser though, a form and delete button show up:

Navigating back to the root of the API, I can also POST a new tip now that I am logged in:
Tests
Ideally we’d write some tests at this point to future-proof any changes we have to make to our API. I leave that as an exercise (challenge) for the reader though. You can PR your code for this challenge here. We did a similar exercise here.
Deploy the API to Digital Ocean
I got 100 bucks credit for free via Python Bytes – nice, thanks!
Fresh install
My first attempt (cause programmers are supposed to be lazy, right?!) was to go with the Django One-Click Application:
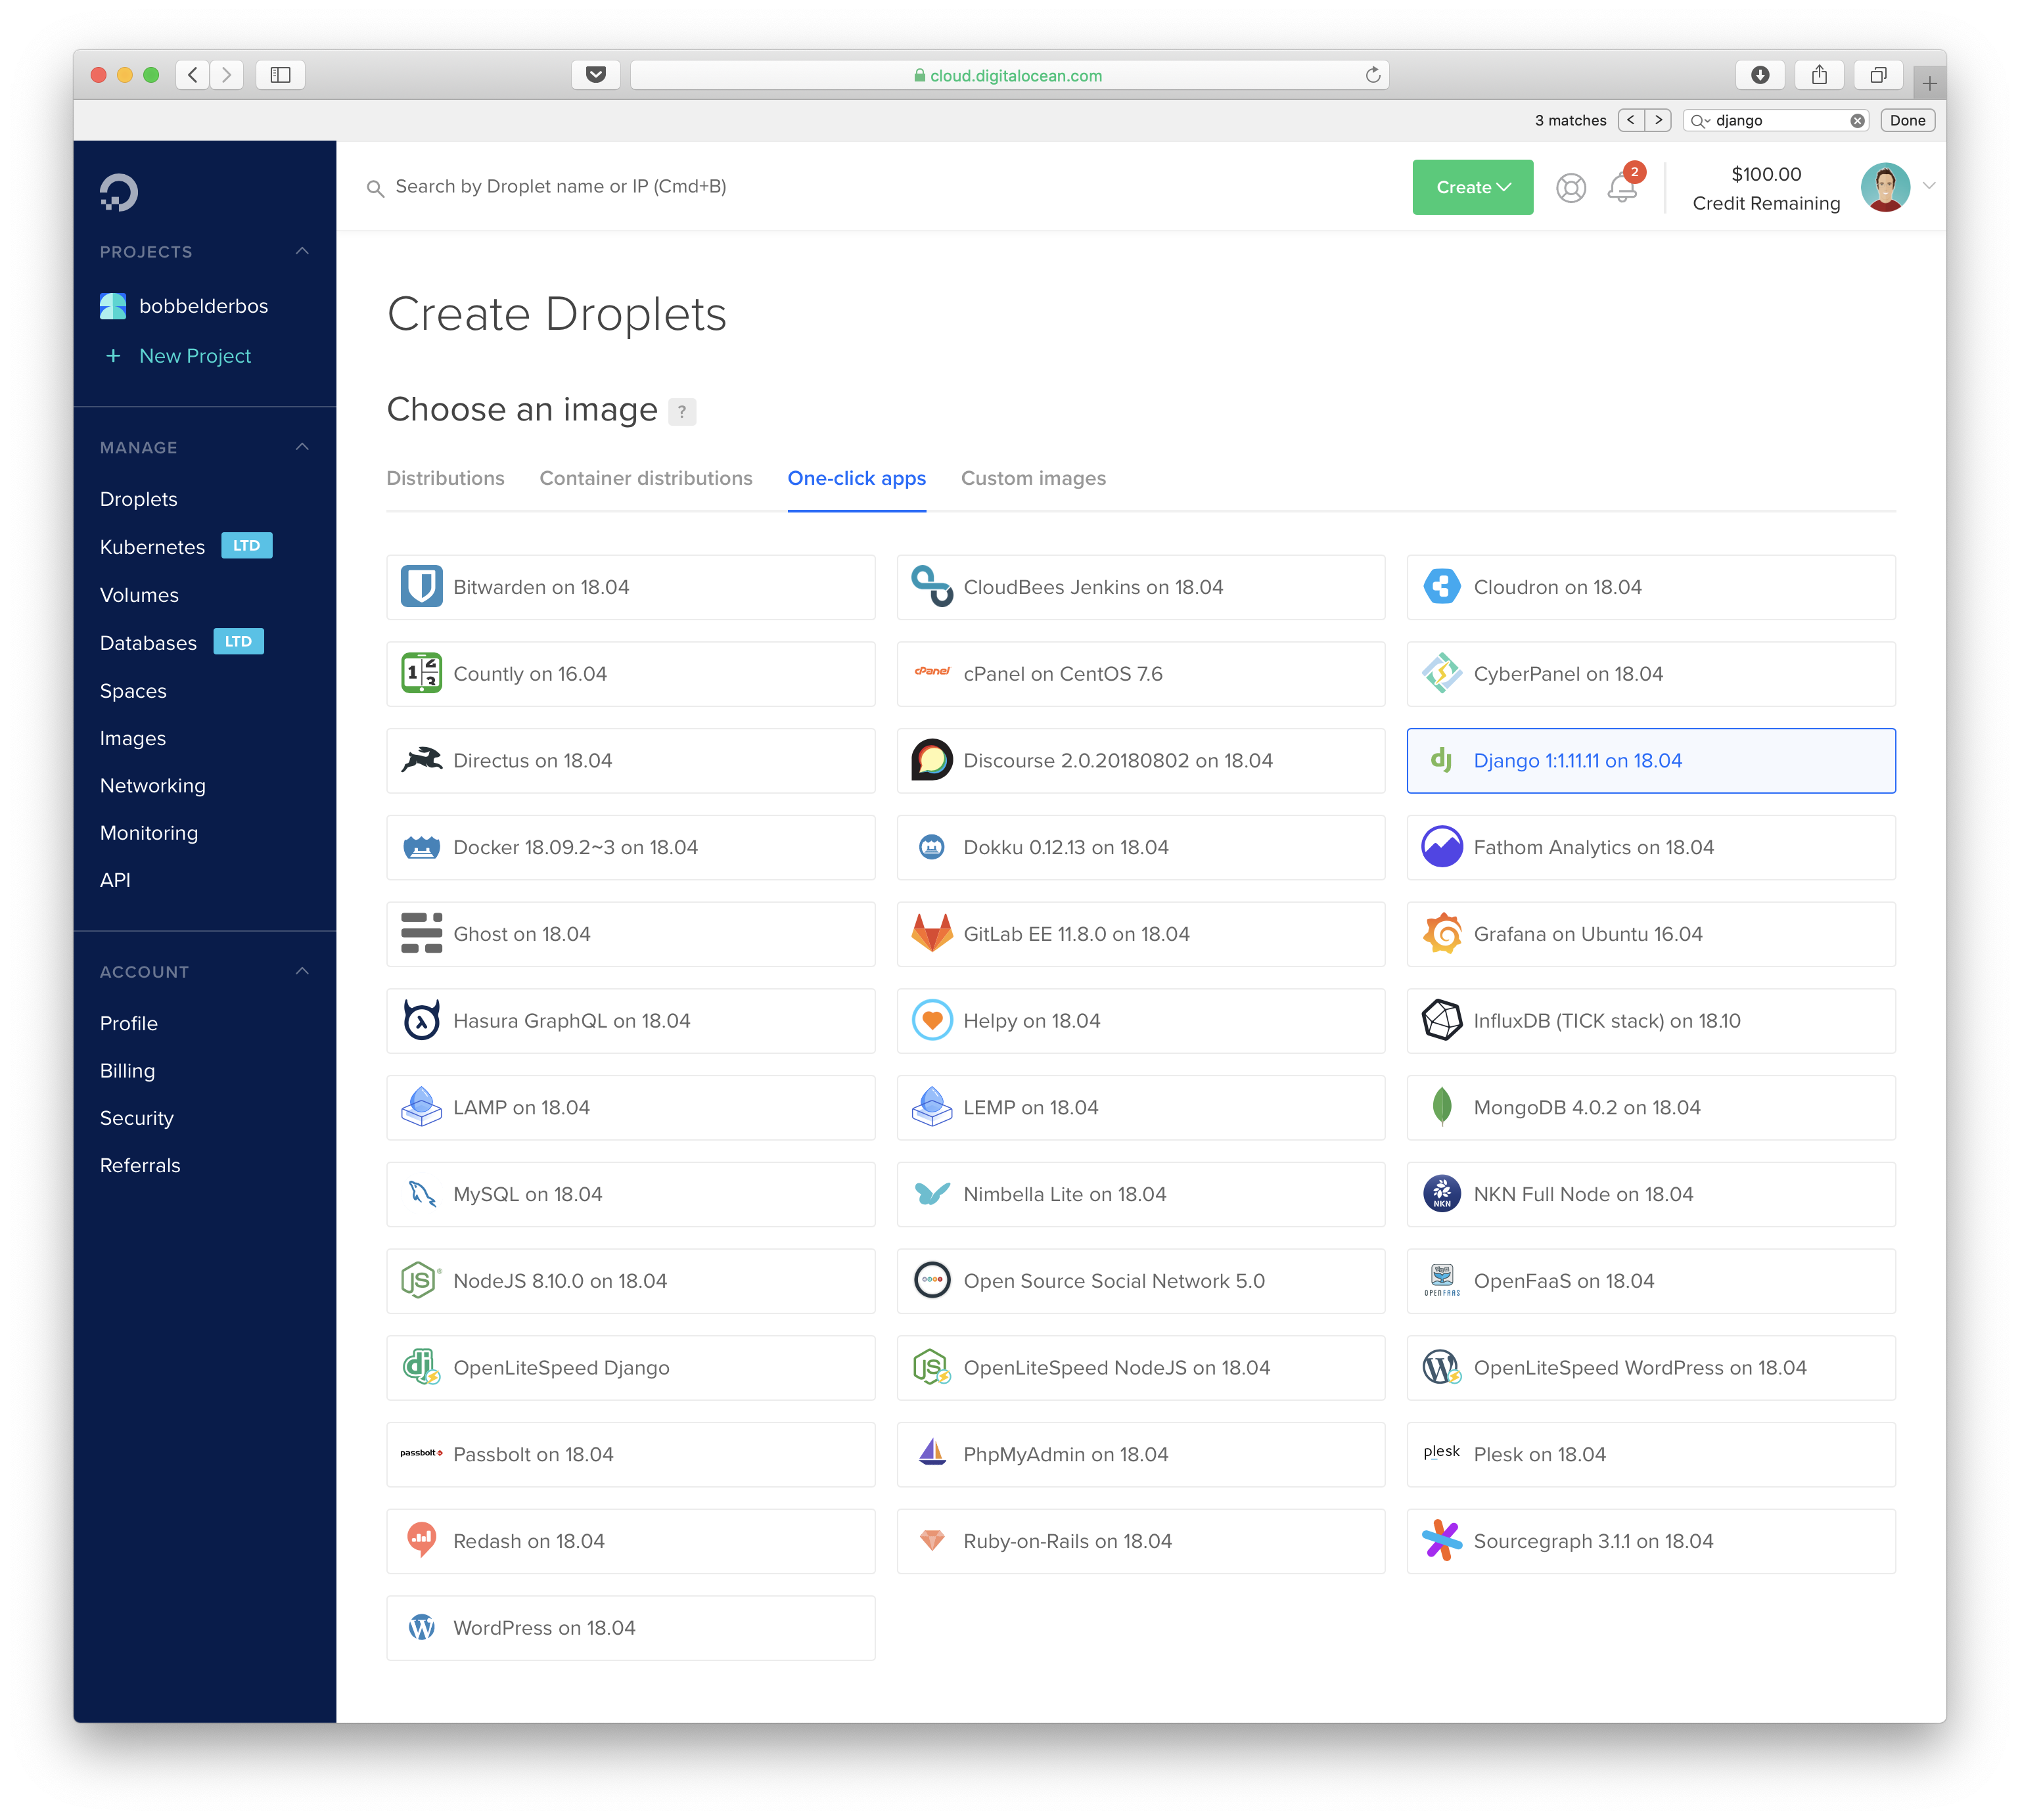
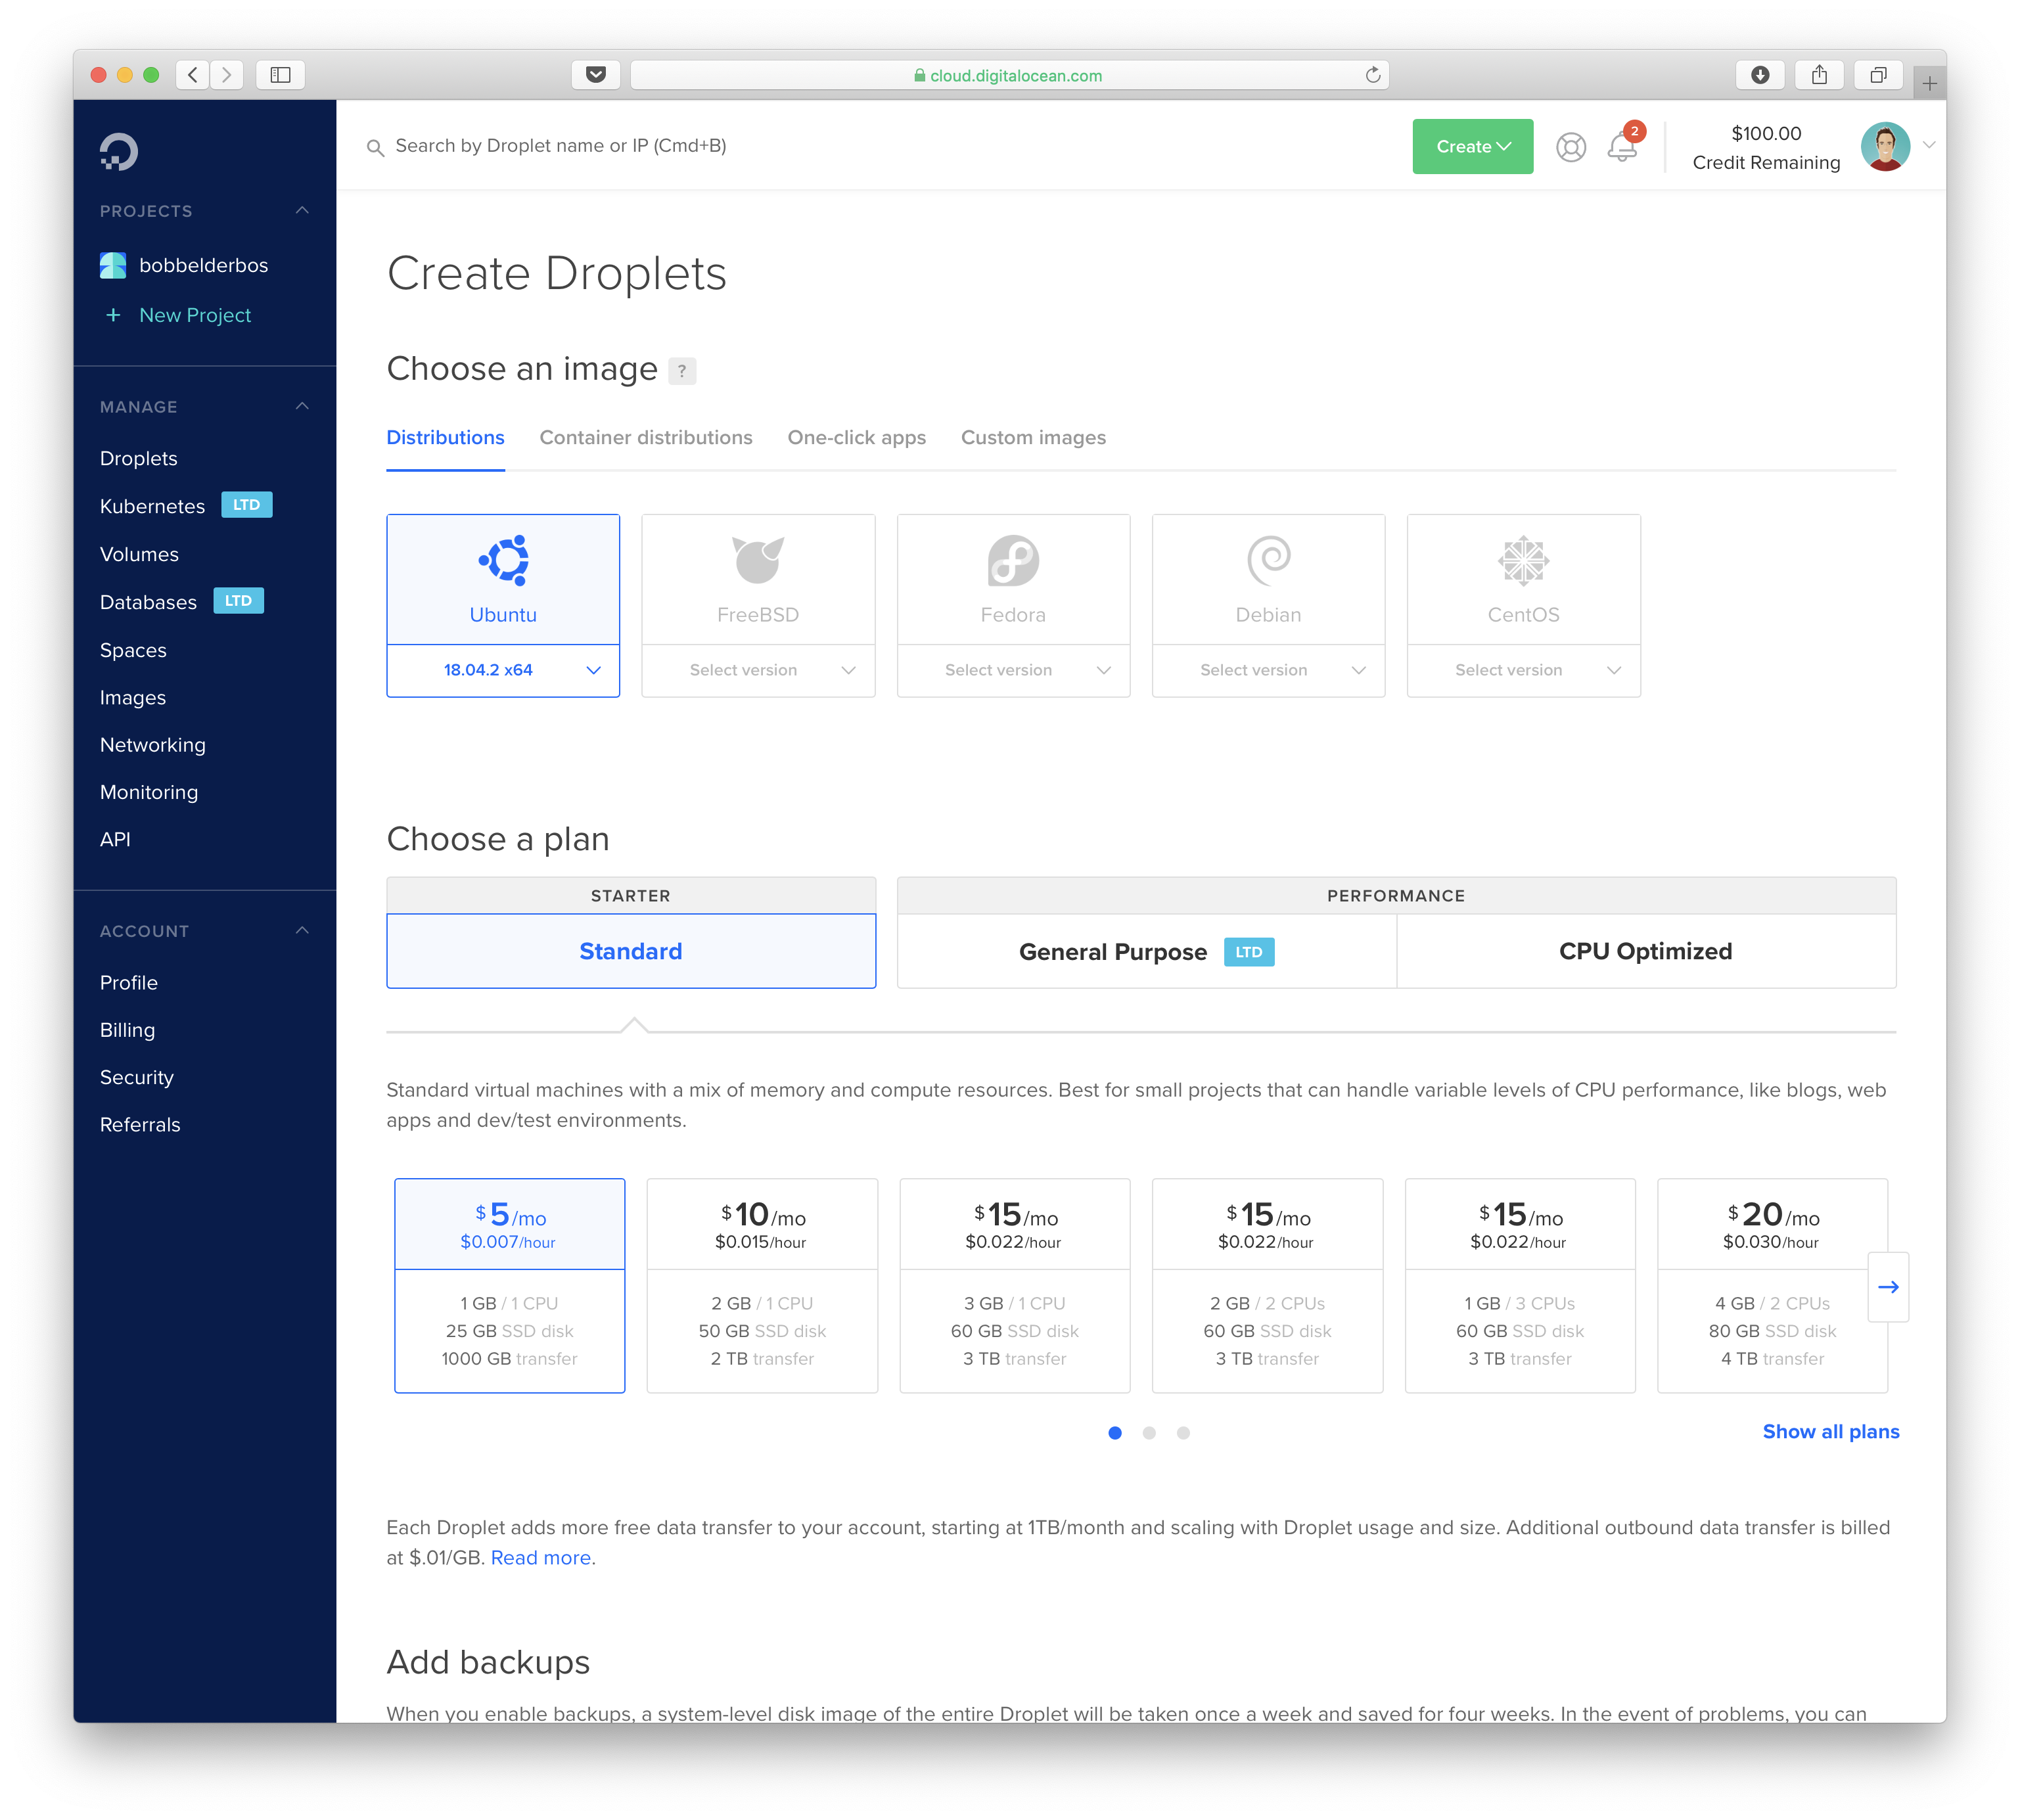
However the latest Django from APT is 1.11 at this time and our API uses Django 2.x so let’s set everything up from scratch using a fresh Ubuntu 18.04 server instance. Not only do we get it exactly as we want, it’s also a nice learning exercise!
SSH access and keys
First hurdle you might find is not being able to SSH in as root (I should have remembered this from my old SunOS days …):
$ ssh root@159.203.186.209
root@159.203.186.209: Permission denied (publickey).
PermitRootLogin was already set to yes in /etc/ssh/sshd_config, but I also had to set PasswordAuthentication to yes opening a Console session from Digital Ocean’s BUI, followed by a sudo service ssh restart. Now I was able to SSH in as root.
I uploaded a SSH public key to Digital Ocean’s account page and had it added to the droplet upon creaton. This populated ~/.ssh/authorized_keys with my public key.
Locally I then made an alias in .ssh/config to be able to login using the alias ssh dioc:
Host dioc
HostName 159.203.186.209
User root
IdentityFile ~/.ssh/DO
(Where /.ssh/DO is my private key stored locally.)
Upgrade
Best practice is to first upgrade the OS because it was behind on important security fixes. This required a reboot:
root@ubuntu-s-1vcpu-1gb-nyc1-01:~# apt-get update && apt-get -y upgrade
root@ubuntu-s-1vcpu-1gb-nyc1-01:~# reboot
Logging in again I followed Digital Ocean’s Initial Server Setup with Ubuntu 18.04 creating a user: adduser bob and granting sudo rights: usermod -aG sudo bob
Firewall
Next I enabled the firewall:
root@ubuntu-s-1vcpu-1gb-nyc1-01:~# ufw app list
Available applications:
OpenSSH
root@ubuntu-s-1vcpu-1gb-nyc1-01:~# ufw allow OpenSSH
Rules updated
Rules updated (v6)
root@ubuntu-s-1vcpu-1gb-nyc1-01:~# ufw enable
Command may disrupt existing ssh connections. Proceed with operation (y|n)? y
Firewall is active and enabled on system startup
root@ubuntu-s-1vcpu-1gb-nyc1-01:~# ufw status
Status: active

To                         Action      From
--                         ------      ----
OpenSSH                    ALLOW       Anywhere
OpenSSH (v6)               ALLOW       Anywhere (v6)
SSH part II
Next I made sure my new user (bob) could login as well.
As I use SSH keys for logging in as root, I copied over the .ssh folder to my new user’s home folder using rsync:
root@ubuntu-s-1vcpu-1gb-nyc1-01:~# rsync --archive --chown=bob:bob ~/.ssh /home/bob
root@ubuntu-s-1vcpu-1gb-nyc1-01:~# ls -l  /home/bob/.ssh/authorized_keys
-rw------- 1 bob bob 410 Mar  3 07:40 /home/bob/.ssh/authorized_keys
And locally I made a new SSH shortcut in .ssh/config:
Host diocu
HostName 159.203.186.209
User bob
IdentityFile ~/.ssh/DO
At this point bob could SSH in using the alias ssh diocu:
(venv) [bobbelderbos@imac tips_api (master)]$ ssh diocu
Welcome to Ubuntu 18.04.2 LTS (GNU/Linux 4.15.0-45-generic x86_64)
...
To run a command as administrator (user "root"), use "sudo ".
See "man sudo_root" for details.

bob@ubuntu-s-1vcpu-1gb-nyc1-01:~$
Next I followed Digital Ocean’s useful article: How To Set Up Django with Postgres, Nginx, and Gunicorn on Ubuntu 18.04.
This guide shows you how to install Django within a virtual environment which I think is the best way to go, Namespaces are one honking great idea — let’s do more of those! (Zen of Python)
What follows is mostly the same as the steps outlined in that guide, but through the lens of me doing it for our API.
Python 3
First we need to install the following packages, upgrade pip and grab virtualenv. Note I logged in as bob so any admin commands need to be preceded by sudo:
sudo apt update
sudo apt install python3-pip python3-dev libpq-dev postgresql postgresql-contrib nginx curl
sudo -H pip3 install --upgrade pip
sudo -H pip3 install virtualenv
Database
We want to use a postgres DB and user:
sudo -u postgres psql
postgres=# CREATE DATABASE tips;
CREATE DATABASE
postgres=# CREATE USER pybites WITH PASSWORD 'something-secure';
CREATE ROLE
postgres=# ALTER ROLE pybites SET client_encoding TO 'utf8';
ALTER ROLE
postgres=# ALTER ROLE pybites SET default_transaction_isolation TO 'read committed';
ALTER ROLE
postgres=# ALTER ROLE pybites SET timezone TO 'UTC';
ALTER ROLE
postgres=# GRANT ALL PRIVILEGES ON DATABASE tips TO pybites;
GRANT
postgres=# \q
Pull in the Django API code
Not part of the guide, but at this point I pulled in our code from Github saving it to my $HOME folder:
git clone https://github.com/pybites/tips_api
cd tips_api
Settings
I added this to the venv’s activation script, to run the dev server (gunicorn won’t use these though as we will see in a bit):
$ vi venv/bin/activate
...
export SECRET_KEY='xyz'
export DEBUG=True
export ALLOWED_HOSTS='localhost, 159.203.186.209'
export DB_ENGINE='django.db.backends.postgresql_psycopg2'
export DB_NAME='tips'
export DB_USER='pybites'
export DB_PASSWORD='something-secure'

$ source venv/bin/activate
These are referenced in Django’s tips/settings.py with sensible defaults if omitted:
ALLOWED_HOSTS = os.environ.get('ALLOWED_HOSTS', 'localhost').split(', ')
...
DATABASES = {
    'default': {
        'ENGINE': os.environ.get('DB_ENGINE', 'django.db.backends.sqlite3'),  # default sqlite3 if desired
        'NAME': os.environ.get('DB_NAME', os.path.join(BASE_DIR, 'db.sqlite3')),
        'USER': os.environ.get('DB_USER', ''),
        'PASSWORD': os.environ.get('DB_PASSWORD', ''),
        'HOST': os.environ.get('DB_HOST', 'localhost'),
        'PORT': os.environ.get('DB_PORT', ''),  # can leave empty on Digital Ocean
    }
}
Dependencies
With my venv enabled let’s install the dependencies:
(venv) bob@ubuntu-s-1vcpu-1gb-nyc1-01:~/tips_api$ pip install -r requirements.txt
...
(venv) bob@ubuntu-s-1vcpu-1gb-nyc1-01:~/tips_api$ pip freeze
beautifulsoup4==4.7.1
bs4==0.0.1
certifi==2018.11.29
chardet==3.0.4
Django==2.1.7
djangorestframework==3.9.1
gunicorn==19.9.0
idna==2.8
psycopg2==2.7.7
psycopg2-binary==2.7.7
pytz==2018.9
requests==2.21.0
soupsieve==1.8
urllib3==1.24.1
Static files
To support static file handling by Nginx we need to set the following two constants in tips/settings.py:
STATIC_URL = '/static/'
STATIC_ROOT = os.path.join(BASE_DIR, 'static/')
Sync the DB
Next we sync the models/migrations to the newly created postgres DB:
(venv) bob@ubuntu-s-1vcpu-1gb-nyc1-01:~/tips_api$ python manage.py migrate
Operations to perform:
Apply all migrations: admin, auth, contenttypes, sessions, tips
Running migrations:
Applying contenttypes.0001_initial... OK
Applying auth.0001_initial... OK
Applying admin.0001_initial... OK
Applying admin.0002_logentry_remove_auto_add... OK
Applying admin.0003_logentry_add_action_flag_choices... OK
Applying contenttypes.0002_remove_content_type_name... OK
Applying auth.0002_alter_permission_name_max_length... OK
Applying auth.0003_alter_user_email_max_length... OK
Applying auth.0004_alter_user_username_opts... OK
Applying auth.0005_alter_user_last_login_null... OK
Applying auth.0006_require_contenttypes_0002... OK
Applying auth.0007_alter_validators_add_error_messages... OK
Applying auth.0008_alter_user_username_max_length... OK
Applying auth.0009_alter_user_last_name_max_length... OK
Applying sessions.0001_initial... OK
Applying tips.0001_initial... OK
Applying tips.0002_auto_20190302_1958... OK
Applying tips.0003_auto_20190302_2011... OK
Great!
Note that Django migrations are committed to source code so I did not have to generate them (makemigrations) again!
Superuser
Let’s create our pybites admin to pull in our existing tips:
(venv) bob@ubuntu-s-1vcpu-1gb-nyc1-01:~/tips_api$ python manage.py createsuperuser
Username (leave blank to use 'bob'): pybites
Email address:
Password:
Password (again):
Superuser created successfully.
And import the tips from our platform:
(venv) bob@ubuntu-s-1vcpu-1gb-nyc1-01:~/tips_api$ python manage.py sync_tips
Done: 92 tips imported
Perfect. Let’s collect the static files (but it’s an API? you might ask … well, Django’s Admin back-end and Django REST Framework’s browser UI use quite a few static files!)
(venv) bob@ubuntu-s-1vcpu-1gb-nyc1-01:~/tips_api$ python manage.py collectstatic
155 static files copied to '/home/bob/tips_api/static'.

(venv) bob@ubuntu-s-1vcpu-1gb-nyc1-01:~/tips_api$ ls static/
admin  rest_framework
Dev server
To run the development server have the firewall grant access to port 8000:
(venv) bob@ubuntu-s-1vcpu-1gb-nyc1-01:~/tips_api$ sudo ufw allow 8000
[sudo] password for bob:
Rule added
Rule added (v6)
And now we can run the development server:
(venv) bob@ubuntu-s-1vcpu-1gb-nyc1-01:~/tips_api$ python manage.py runserver 0.0.0.0:8000
Performing system checks...

System check identified no issues (0 silenced).
March 04, 2019 - 09:05:00
Django version 2.1.7, using settings 'tips.settings'
Starting development server at http://0.0.0.0:8000/
Quit the server with CONTROL-C.
Browsing to http://159.203.186.209:8000/api/ we see:
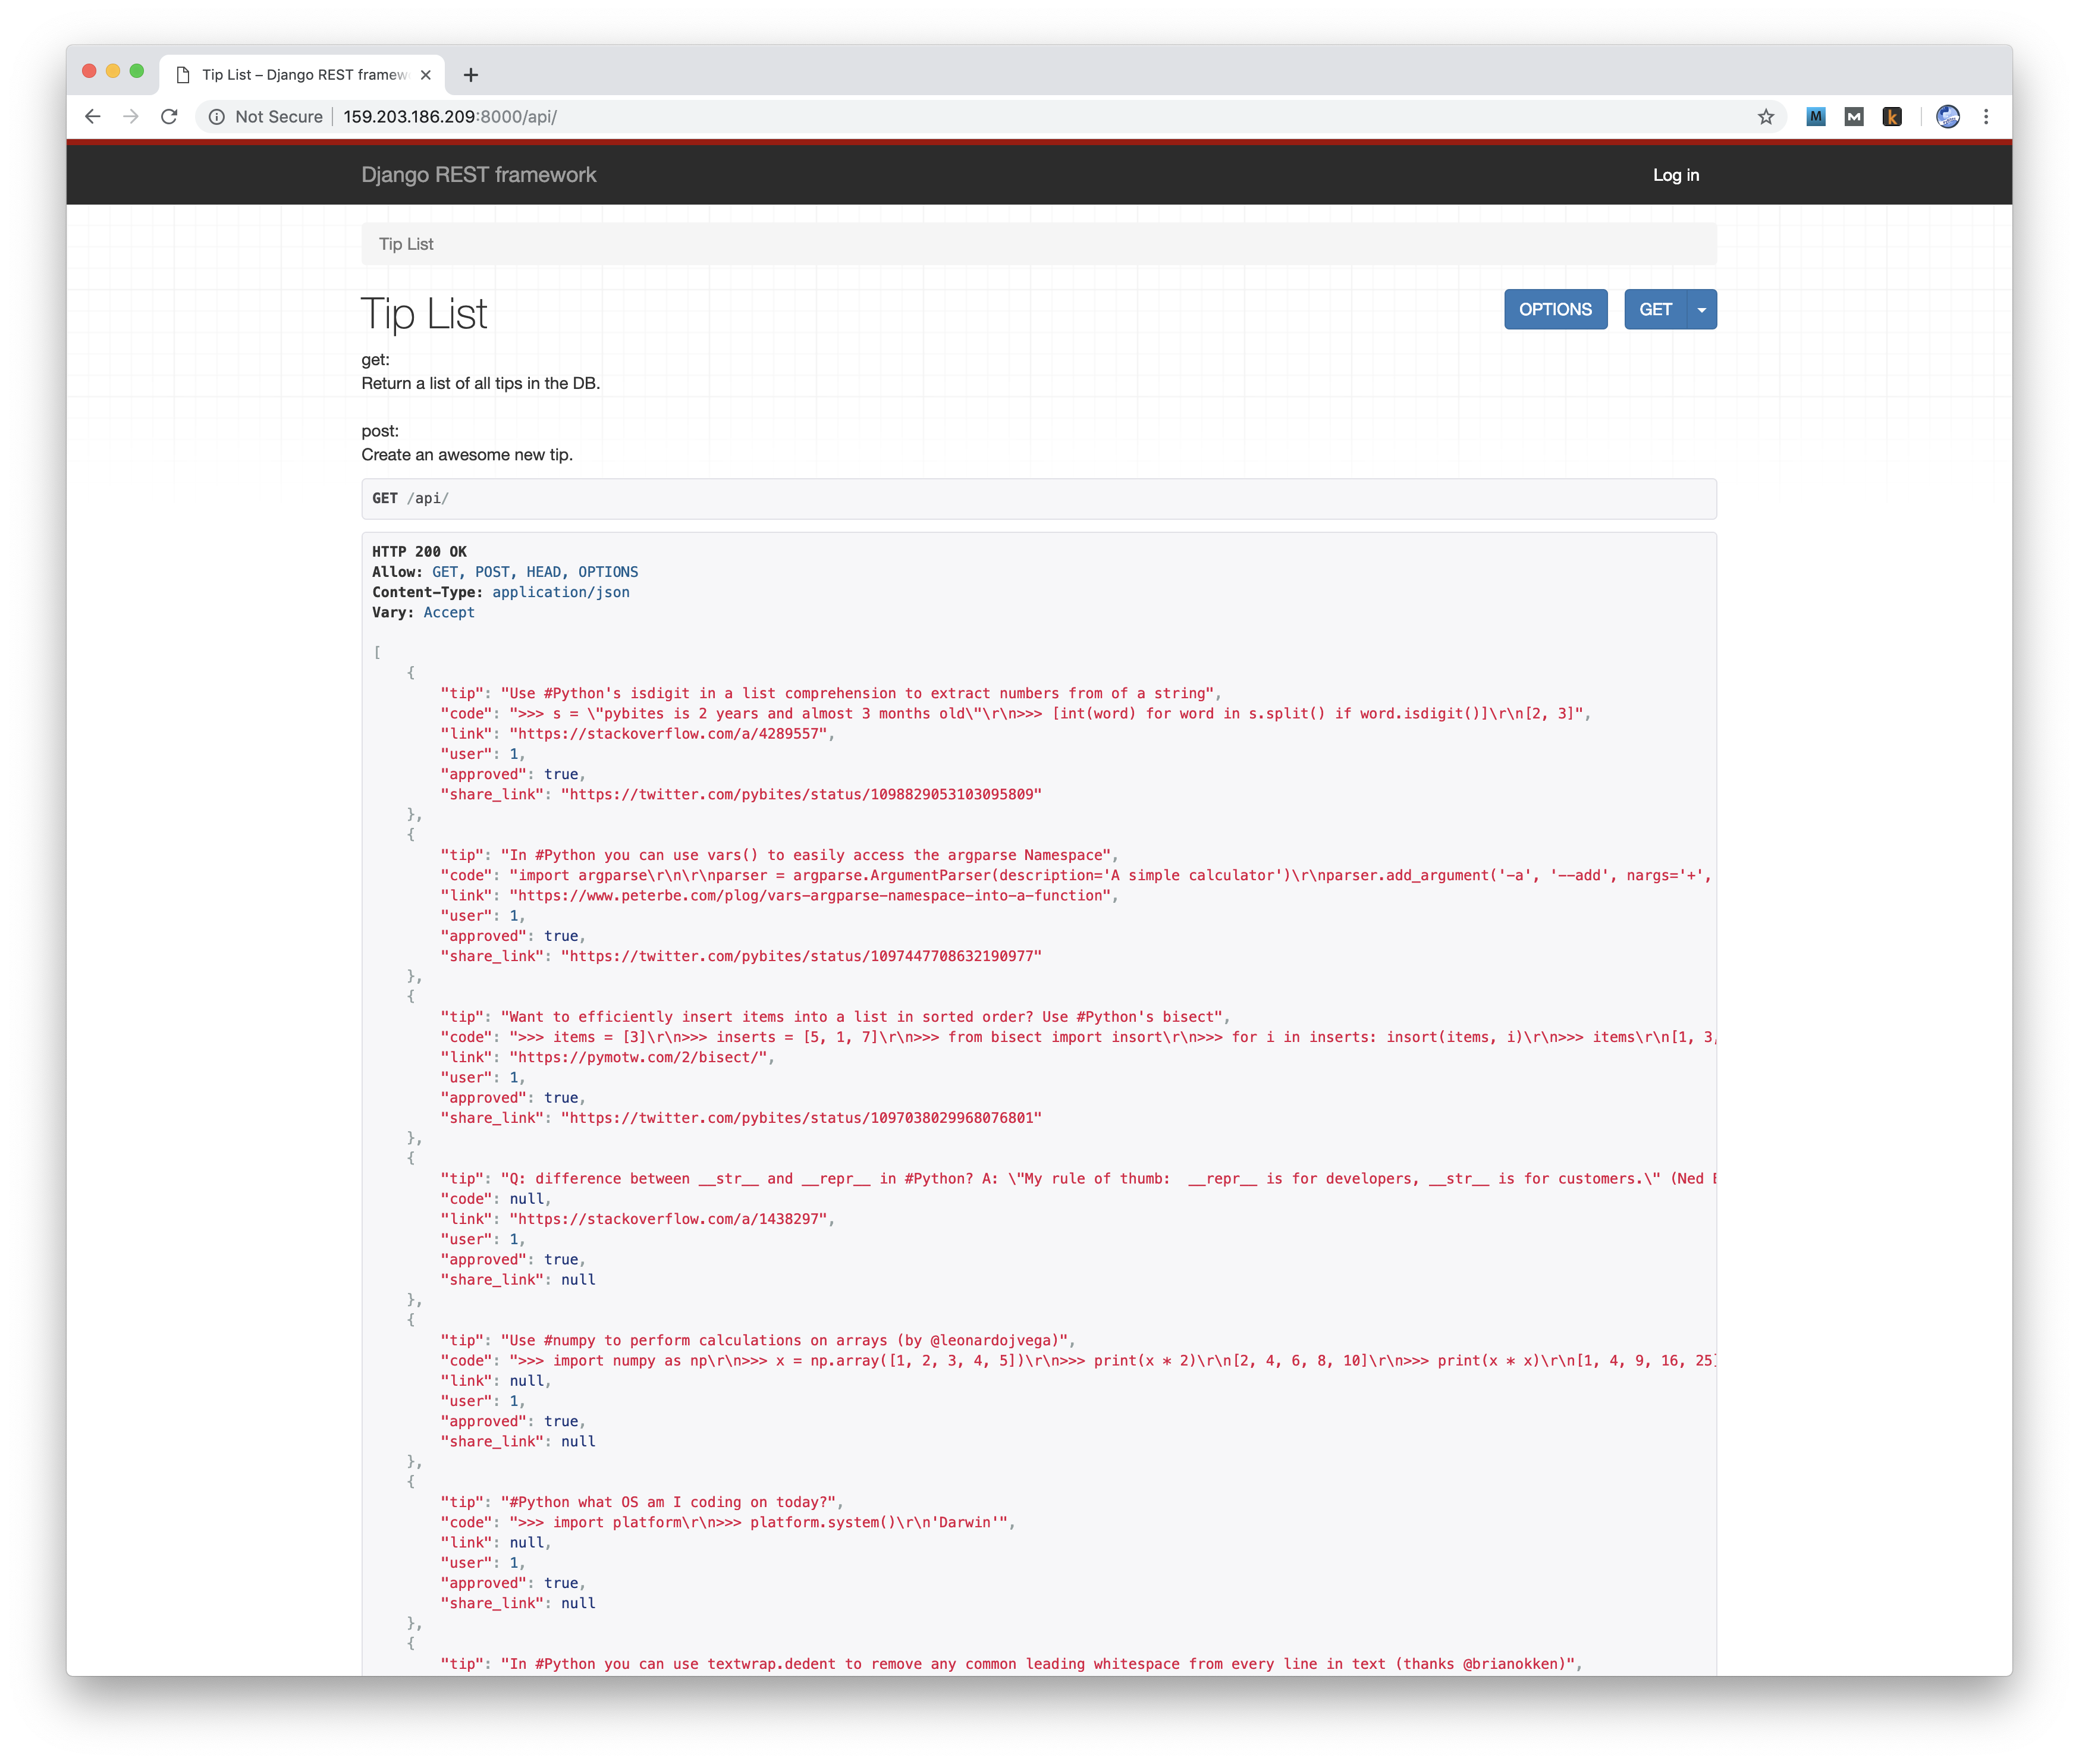
Awesome! Well, actually first I got a permission error because I only had localhost in ALLOWED_HOSTS so make sure you add your own IP. Again in this case that is 159.203.186.209.
Gunicorn
Now let’s use Gunicorn. First test it manually:
(venv) bob@ubuntu-s-1vcpu-1gb-nyc1-01:~/tips_api$ gunicorn --bind 0.0.0.0:8000 tips.wsgi
[2019-03-04 09:11:10 +0000] [16579] [INFO] Starting gunicorn 19.9.0
[2019-03-04 09:11:10 +0000] [16579] [INFO] Listening at: http://0.0.0.0:8000 (16579)
[2019-03-04 09:11:10 +0000] [16579] [INFO] Using worker: sync
[2019-03-04 09:11:10 +0000] [16582] [INFO] Booting worker with pid: 16582
Next we make it persistent with a socket:
The Gunicorn socket will be created at boot and will listen for connections. When a connection occurs, systemd will automatically start the Gunicorn process to handle the connection.
bob@ubuntu-s-1vcpu-1gb-nyc1-01:~/tips_api$ sudo vi /etc/systemd/system/gunicorn.socket
Add this:
[Unit]
Description=gunicorn socket

[Socket]
ListenStream=/run/gunicorn.sock

[Install]
WantedBy=sockets.target
Then create a gunicorn.service:
bob@ubuntu-s-1vcpu-1gb-nyc1-01:~/tips_api$ sudo vi /etc/systemd/system/gunicorn.service
Adding:
[Unit]
Description=gunicorn daemon
Requires=gunicorn.socket
After=network.target

[Service]
User=bob
Group=www-data
WorkingDirectory=/home/bob/tips_api
ExecStart=/home/bob/tips_api/venv/bin/gunicorn \
        -e SECRET_KEY='abc' \
        -e DEBUG=True \
        -e ALLOWED_HOSTS='localhost, 159.203.186.209' \
        -e DB_ENGINE='django.db.backends.postgresql_psycopg2' \
        -e DB_NAME='tips' \
        -e DB_USER='pybites' \
        -e DB_PASSWORD='abc' \
        --access-logfile - \
        --workers 3 \
        --bind unix:/run/gunicorn.sock \
        tips.wsgi:application

[Install]
WantedBy=multi-user.target
And here I had some trouble: Gunicorn did not pick up env variables so Django would not get its required SECRET_KEY etc.
As per this thread I tried EnvironmentFile=/home/bob/.env copying the variables from venv/bin/activate (argh). Even that did not work.
So I ended up with adding them with multiple -e flags making it less DRY, although as all runs through gunicorn we might just ditch them from venv/bin/activate altogether.
To set this in motion:
bob@ubuntu-s-1vcpu-1gb-nyc1-01:~/tips_api$ sudo systemctl start gunicorn.socket
bob@ubuntu-s-1vcpu-1gb-nyc1-01:~/tips_api$ sudo systemctl enable gunicorn.socket
Created symlink /etc/systemd/system/sockets.target.wants/gunicorn.socket → /etc/systemd/system/gunicorn.socket.

bob@ubuntu-s-1vcpu-1gb-nyc1-01:~/tips_api$ sudo systemctl status gunicorn.socket
Failed to dump process list, ignoring: No such file or directory
● gunicorn.socket - gunicorn socket
Loaded: loaded (/etc/systemd/system/gunicorn.socket; enabled; vendor preset: enabled)
Active: active (listening) since Mon 2019-03-04 09:18:06 UTC; 21s ago
Listen: /run/gunicorn.sock (Stream)
CGroup: /system.slice/gunicorn.socket

Mar 04 09:18:06 ubuntu-s-1vcpu-1gb-nyc1-01 systemd[1]: Listening on gunicorn socket.

bob@ubuntu-s-1vcpu-1gb-nyc1-01:~/tips_api$ file /run/gunicorn.sock
/run/gunicorn.sock: socket
By the way, when troubleshooting these kind of issues and when making changes to your gunicorn config, remember to restart both the daemon and the gunicorn service:
bob@ubuntu-s-1vcpu-1gb-nyc1-01:~/tips_api$ sudo systemctl daemon-reload && sudo systemctl restart gunicorn.socket gunicorn.service
Nginx
As per Digital Ocean’s guide I needed to do the following to get Nginx running:
bob@ubuntu-s-1vcpu-1gb-nyc1-01:~/tips_api$ sudo vi /etc/nginx/sites-available/tips_api

server {
    listen 80;
    server_name 159.203.186.209;

    location = /favicon.ico { access_log off; log_not_found off; }
    location /static/ {
        root /home/bob/tips_api;
    }

    location / {
        include proxy_params;
        proxy_pass http://unix:/run/gunicorn.sock;
    }
}

bob@ubuntu-s-1vcpu-1gb-nyc1-01:~/tips_api$ sudo ln -s /etc/nginx/sites-available/tips_api /etc/nginx/sites-enabled
bob@ubuntu-s-1vcpu-1gb-nyc1-01:~/tips_api$ sudo nginx -t
nginx: the configuration file /etc/nginx/nginx.conf syntax is ok
nginx: configuration file /etc/nginx/nginx.conf test is successful

bob@ubuntu-s-1vcpu-1gb-nyc1-01:~/tips_api$ sudo systemctl restart nginx
bob@ubuntu-s-1vcpu-1gb-nyc1-01:~/tips_api$ sudo ufw delete allow 8000
Rule deleted
Rule deleted (v6)
bob@ubuntu-s-1vcpu-1gb-nyc1-01:~/tips_api$ sudo ufw allow 'Nginx Full'
Rule added
Rule added (v6)
I ran into a weird error after this:
Mar 04 10:06:18 ubuntu-s-1vcpu-1gb-nyc1-01 systemd[1]: nginx.service: Failed to parse PID from file /run/nginx.pid: Invalid argument
… which I could resolve using this workaround, but it was overshadowed by the Gunicorn ENV variable issue I described earlier, so not sure if this would have been a stopper.
And voilà: we have our PyBites API hosted on Digital Ocean!
Conclusion
This was a fun exercise! We managed to turn PyBites Tips into its own service hosted in the cloud!
The only challenge was gunicorn not picking up environment variables from a file, but we got around that and it all works nicely now …
Now go build your own API with the Django REST Framework and PR us your code here.
I will do a follow-up article on how to use the Slack API and its Slash Commands feature to POST tips to this API from our Slack.
By the way, PyBites Slack is a really cool place to hang out, you can join us here.
Keep Calm and Code in Python!
— Bob