Pillow or PIL
The Python Image Library (PIL), although not in the standard library, has been Python’s best-known 2-D image processing library. It predated installers such as pip, so a “friendly fork” called Pillow was created. Although the package is called Pillow, you import it as PIL to make it compatible with the older PIL.
Pillow’s documentation is good, check it out here: https://pillow.readthedocs.io/en/stable/
Set-up and install
As usual, a virtualenv is created and activated to do our work in.
Pillow can be installed on most platforms and has been tested for the latest Python version (3.7) across the most commonly used platforms. Simply install Pillow with pip:
code
(venv) $ pip install pillow
Let’s begin…
Let’s cover off some basic usage of Pillow; opening Images, resizing and saving images.
If you want to follow along, find an image that you want to use and keep it handy in the same working directory of your program.py.
1) Opening (and saving) images
# program.py

from PIL import Image

# to load an image from a file, use the open() function in the image module. Note the capitalisation of image here.
image = Image.open('images/original.jpg')
It’s not unreasonable to have expected that to ‘open’ on your screen, but that’s not what is meant here. You can test if the opening of the image in Python was successful by ensuring it returned an image object:
# if successful, should return an Image object:
print(type(image))  # output:
Instead, to open, or show, the image on your screen use:
# to actually open and view it.
image.show()
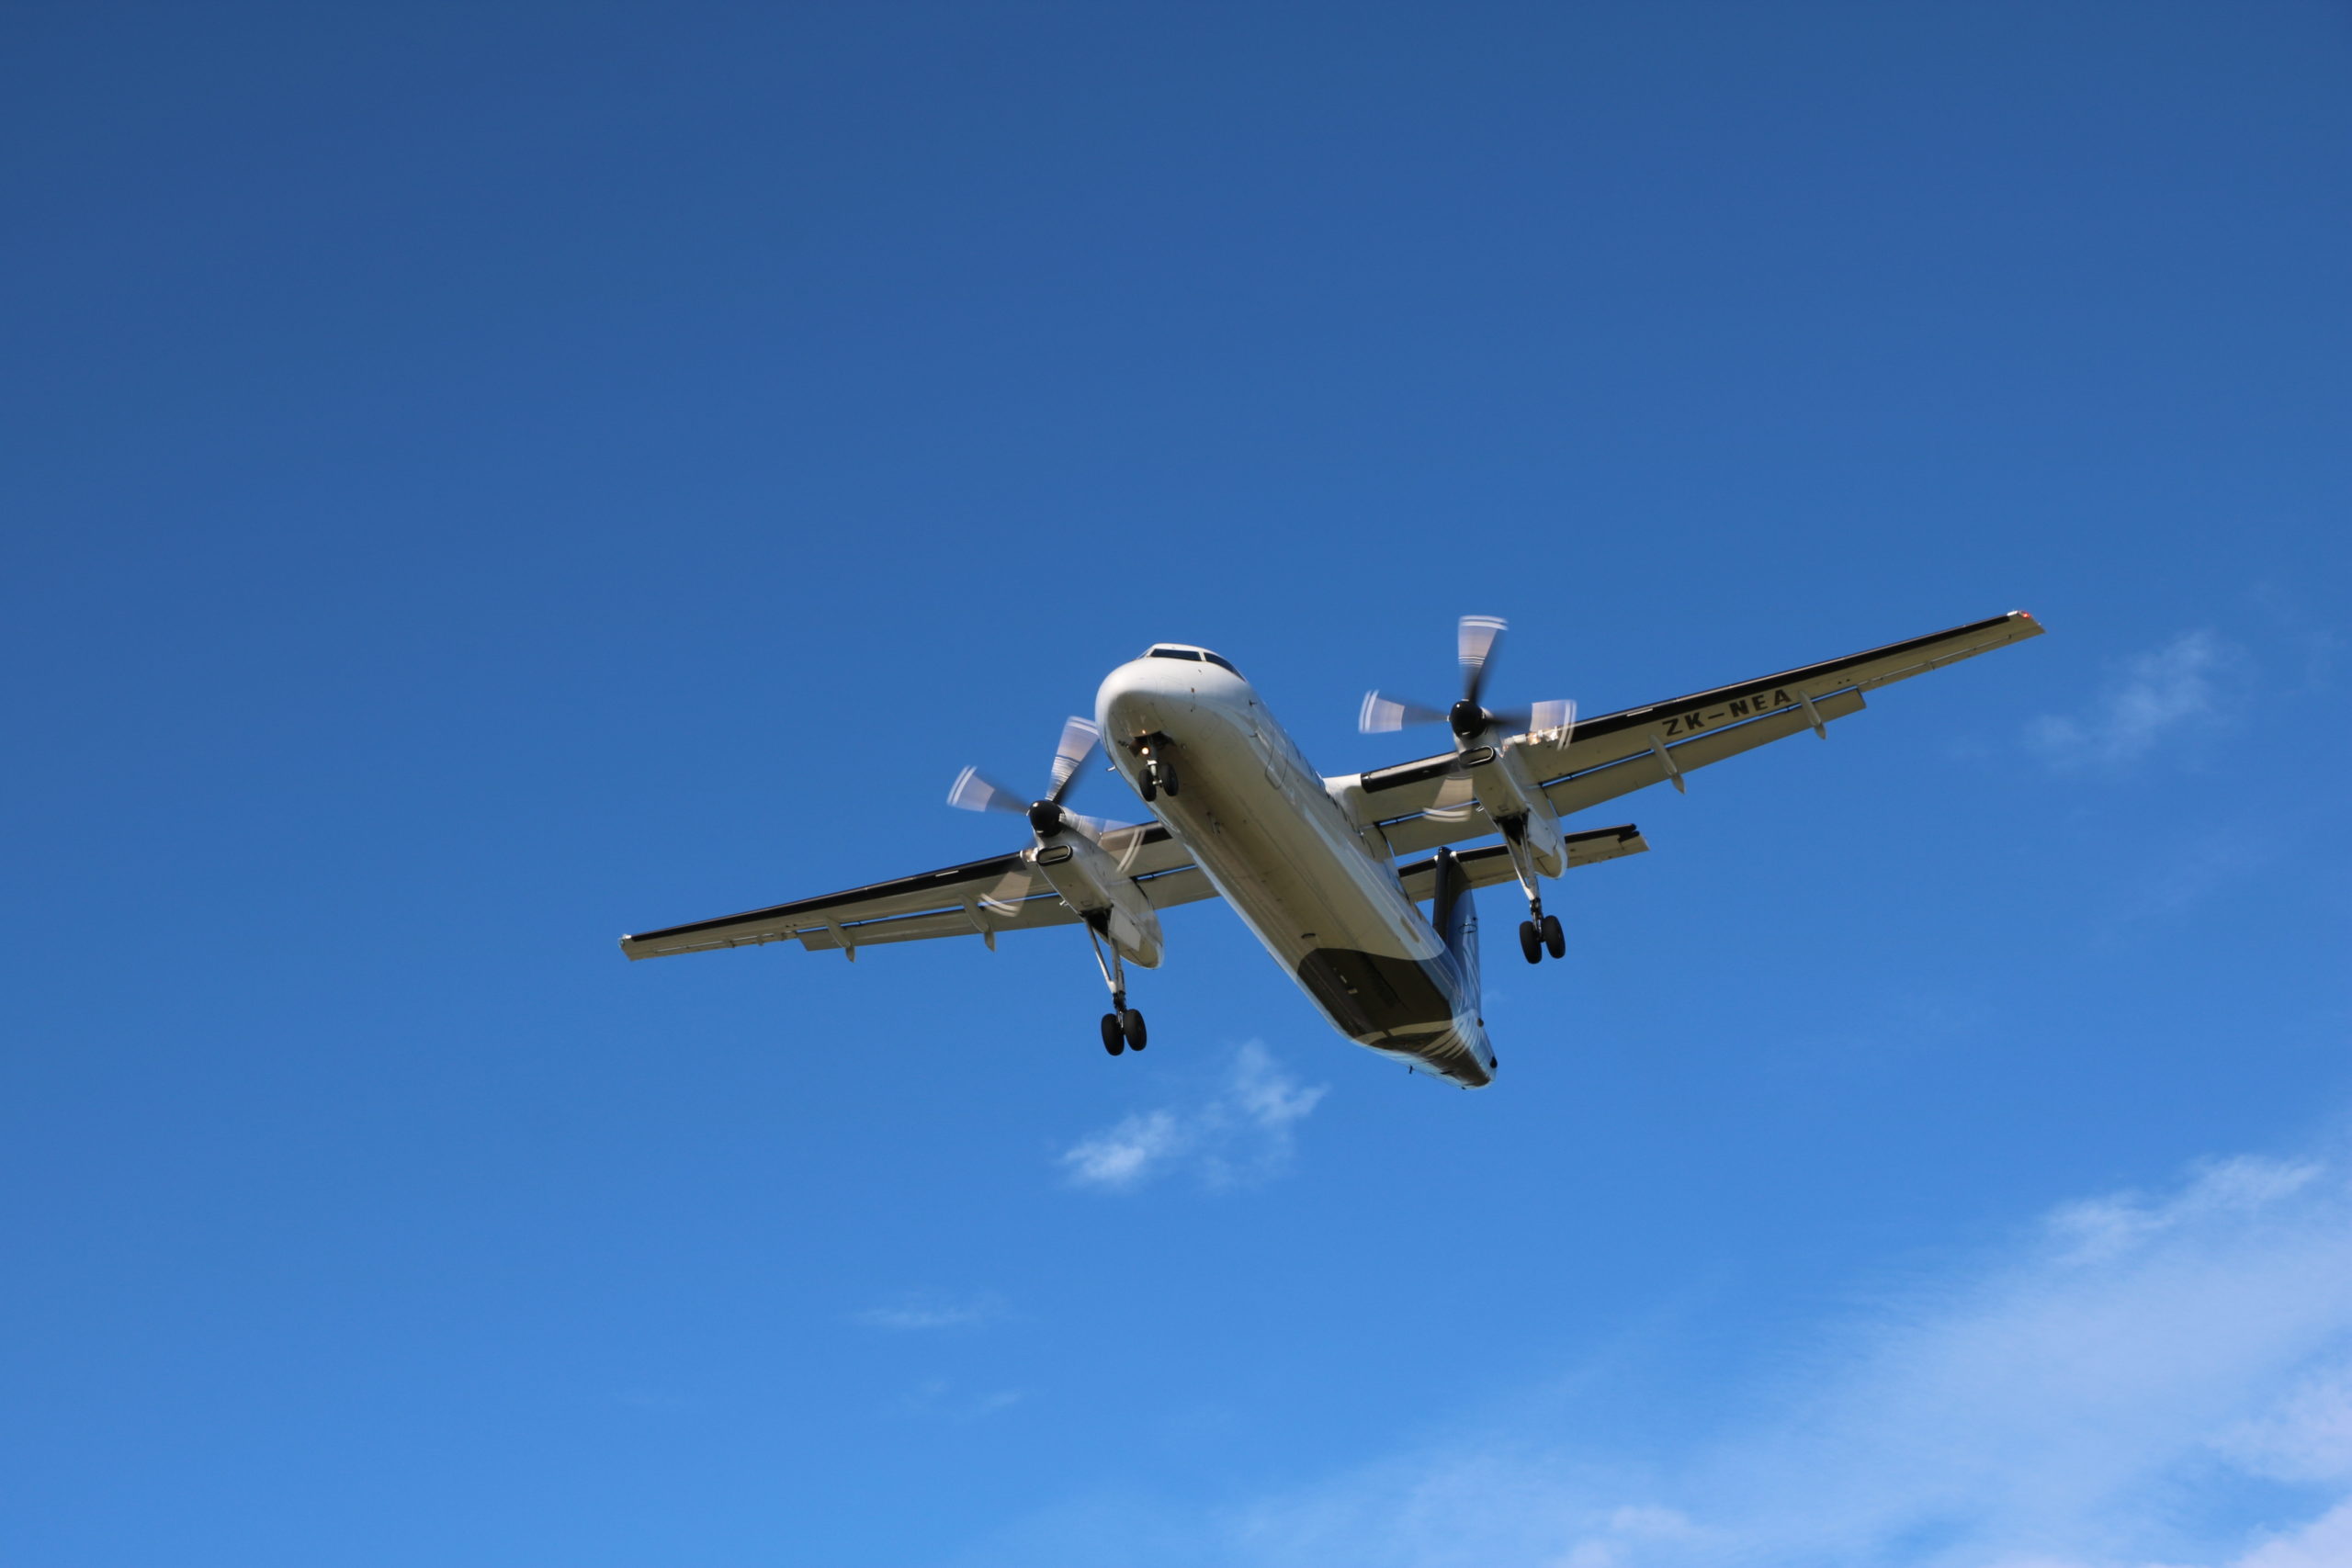
This is the image I am using for this work (it could be the PyBites corporate aircraft?):
Now we have opened the image in Python, let’s inspect its image details from the object attributes:
# The file format of the source file:
print((image.format)) # Output: JPEG
JPEG
# The pixel format, i.e. RGB
print(image.mode)
RGB
# Size in pixels
print(image.size)
(6000, 4000)
Ok, let’s save the image as something else, while also changing the file format from a JPEG to a PNG format:
# saving an image as a new image; can also change file format i.e. jpg -> png
image.save('images/new_image.png')
You should end up with two image files in your working directory: ‘original.jpg’ and ‘new_image.png’.
2) Resizing images
Here’s where the fun really starts! Of course, it’s possible to resize images using Pillow.
The previous image size was determined to be 6000 pixels x 4000 pixels. Let’s change that to make the new_image.png smaller. Our watermarking will probably need to be smaller than the image to be watermarked.
To resize an image, we can pass a 2 integer tuple describing width and height to resize().
# lets start to use and modify new_image.png
img = Image.open('images/new_image.png')
#resizing it now to 400 pixels x 400 pixels:
img = image.resize((400, 400))
# save it as new_image_400x400 and as a JPG file:
img.save('images/new_image_400x400.jpg')
print(img.size)
(400, 400)
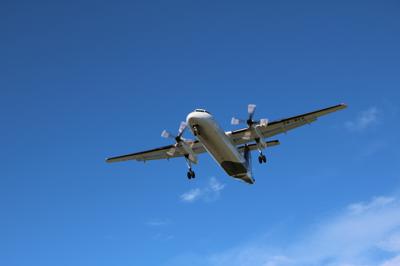
Let’s look at our new image ‘new_image_400x400.jpg’
img.show() # will open the image on your screen
This is what it looks like. Does it look right to you?

The thing to beware of using the resize() function is that is doesn’t protect your aspect ratio. It’s also therefore possible to blow out the image by making it bigger than the original and lose definition causing it to look a bit fuzzy.
Fortunately, this is where the thumbnail() function comes in handy!
# to keep aspect ratios instead, use thumbnail(),
# takes 2 ints max_width x max_height of the thumbnail.
image = Image.open('images/new_image.png')
image.thumbnail((400, 400))
image.save('images/image_thumbnail.jpg')
print(image.size)
(400, 266)
While we have just shrunk our image, another positive of thumbnail is that it cannot upscale the image above the pixel size of the original – no blow out! I.e. setting a pixel size of 8000 x 8000 pixels results in an image size of 6000 x 4000 pixels as per the original dimensions.
This looks much better:
In parts 1) and 2) we covered off how to open an image in Pillow, and on the screen. Then resize it using either the resize function or the preferred thumbnail function which preserves the image’s aspect ratio.
Let’s now look at how we can paste an image onto another image.
3) Pasting an image onto another image
Pasting an image onto another image using Pillow is straightforward and fundamental to creating a watermarked image. For this part, I’m going to use the original aircraft image, and paste the PyBites logo in the bottom right corner to it.
Quite often your second ‘watermark’ image will have a solid coloured background to it. That needs to be made transparent so that the ‘watermark’ background merges into the original image well. I’m using a Mac so I refererred to this Apple support page that showed me how to do this. There are methods easily ‘Googled’ for Windows using Paint too.
This is the PyBites logo from the #100DaysOfCode course, that I modified with a transparent background using the method described above. 
Let’s code!
First we’ll open the two images. Then make a copy of the original which we’ll modify. Then code where we want the PyBites logo to go on the working image, paste it using the paste() function (easy as that!) and save our work:
from PIL import Image

image = Image.open('images/original.jpg')
logo = Image.open('images/pybites_trans.png')

image_copy = image.copy()

position = ((image_copy.width - logo.width), (image_copy.height - logo.height))

image_copy.paste(logo, position)

image_copy.save('images/pasted_image.jpg')
image_copy.show()
Here’s the result:
But wait! We’re using the Pybites logo with a transparent background, aren’t we?
Yes we are, but let’s look at the Pillow documentation…
Pasting an RGBA image and also using it as the mask will paste the opaque portion of the image but not its transparent background.
We need to pass in a third argument to the paste() function. This argument is the transparency mask Image object. A mask is an Image object where the alpha value is significant, but its green, red, and blue values are ignored. If a mask is given, paste() updates only the regions indicated by the mask.
So let’s modify the paste as below to get a pasted logo with transparent pixels.
from PIL import Image
image = Image.open('images/original.jpg')
logo = Image.open('images/pybites_trans.png')
image_copy = image.copy()
position = ((image_copy.width - logo.width), (image_copy.height - logo.height))
# modify the paste by adding the logo as the third argument as per the explanation above.
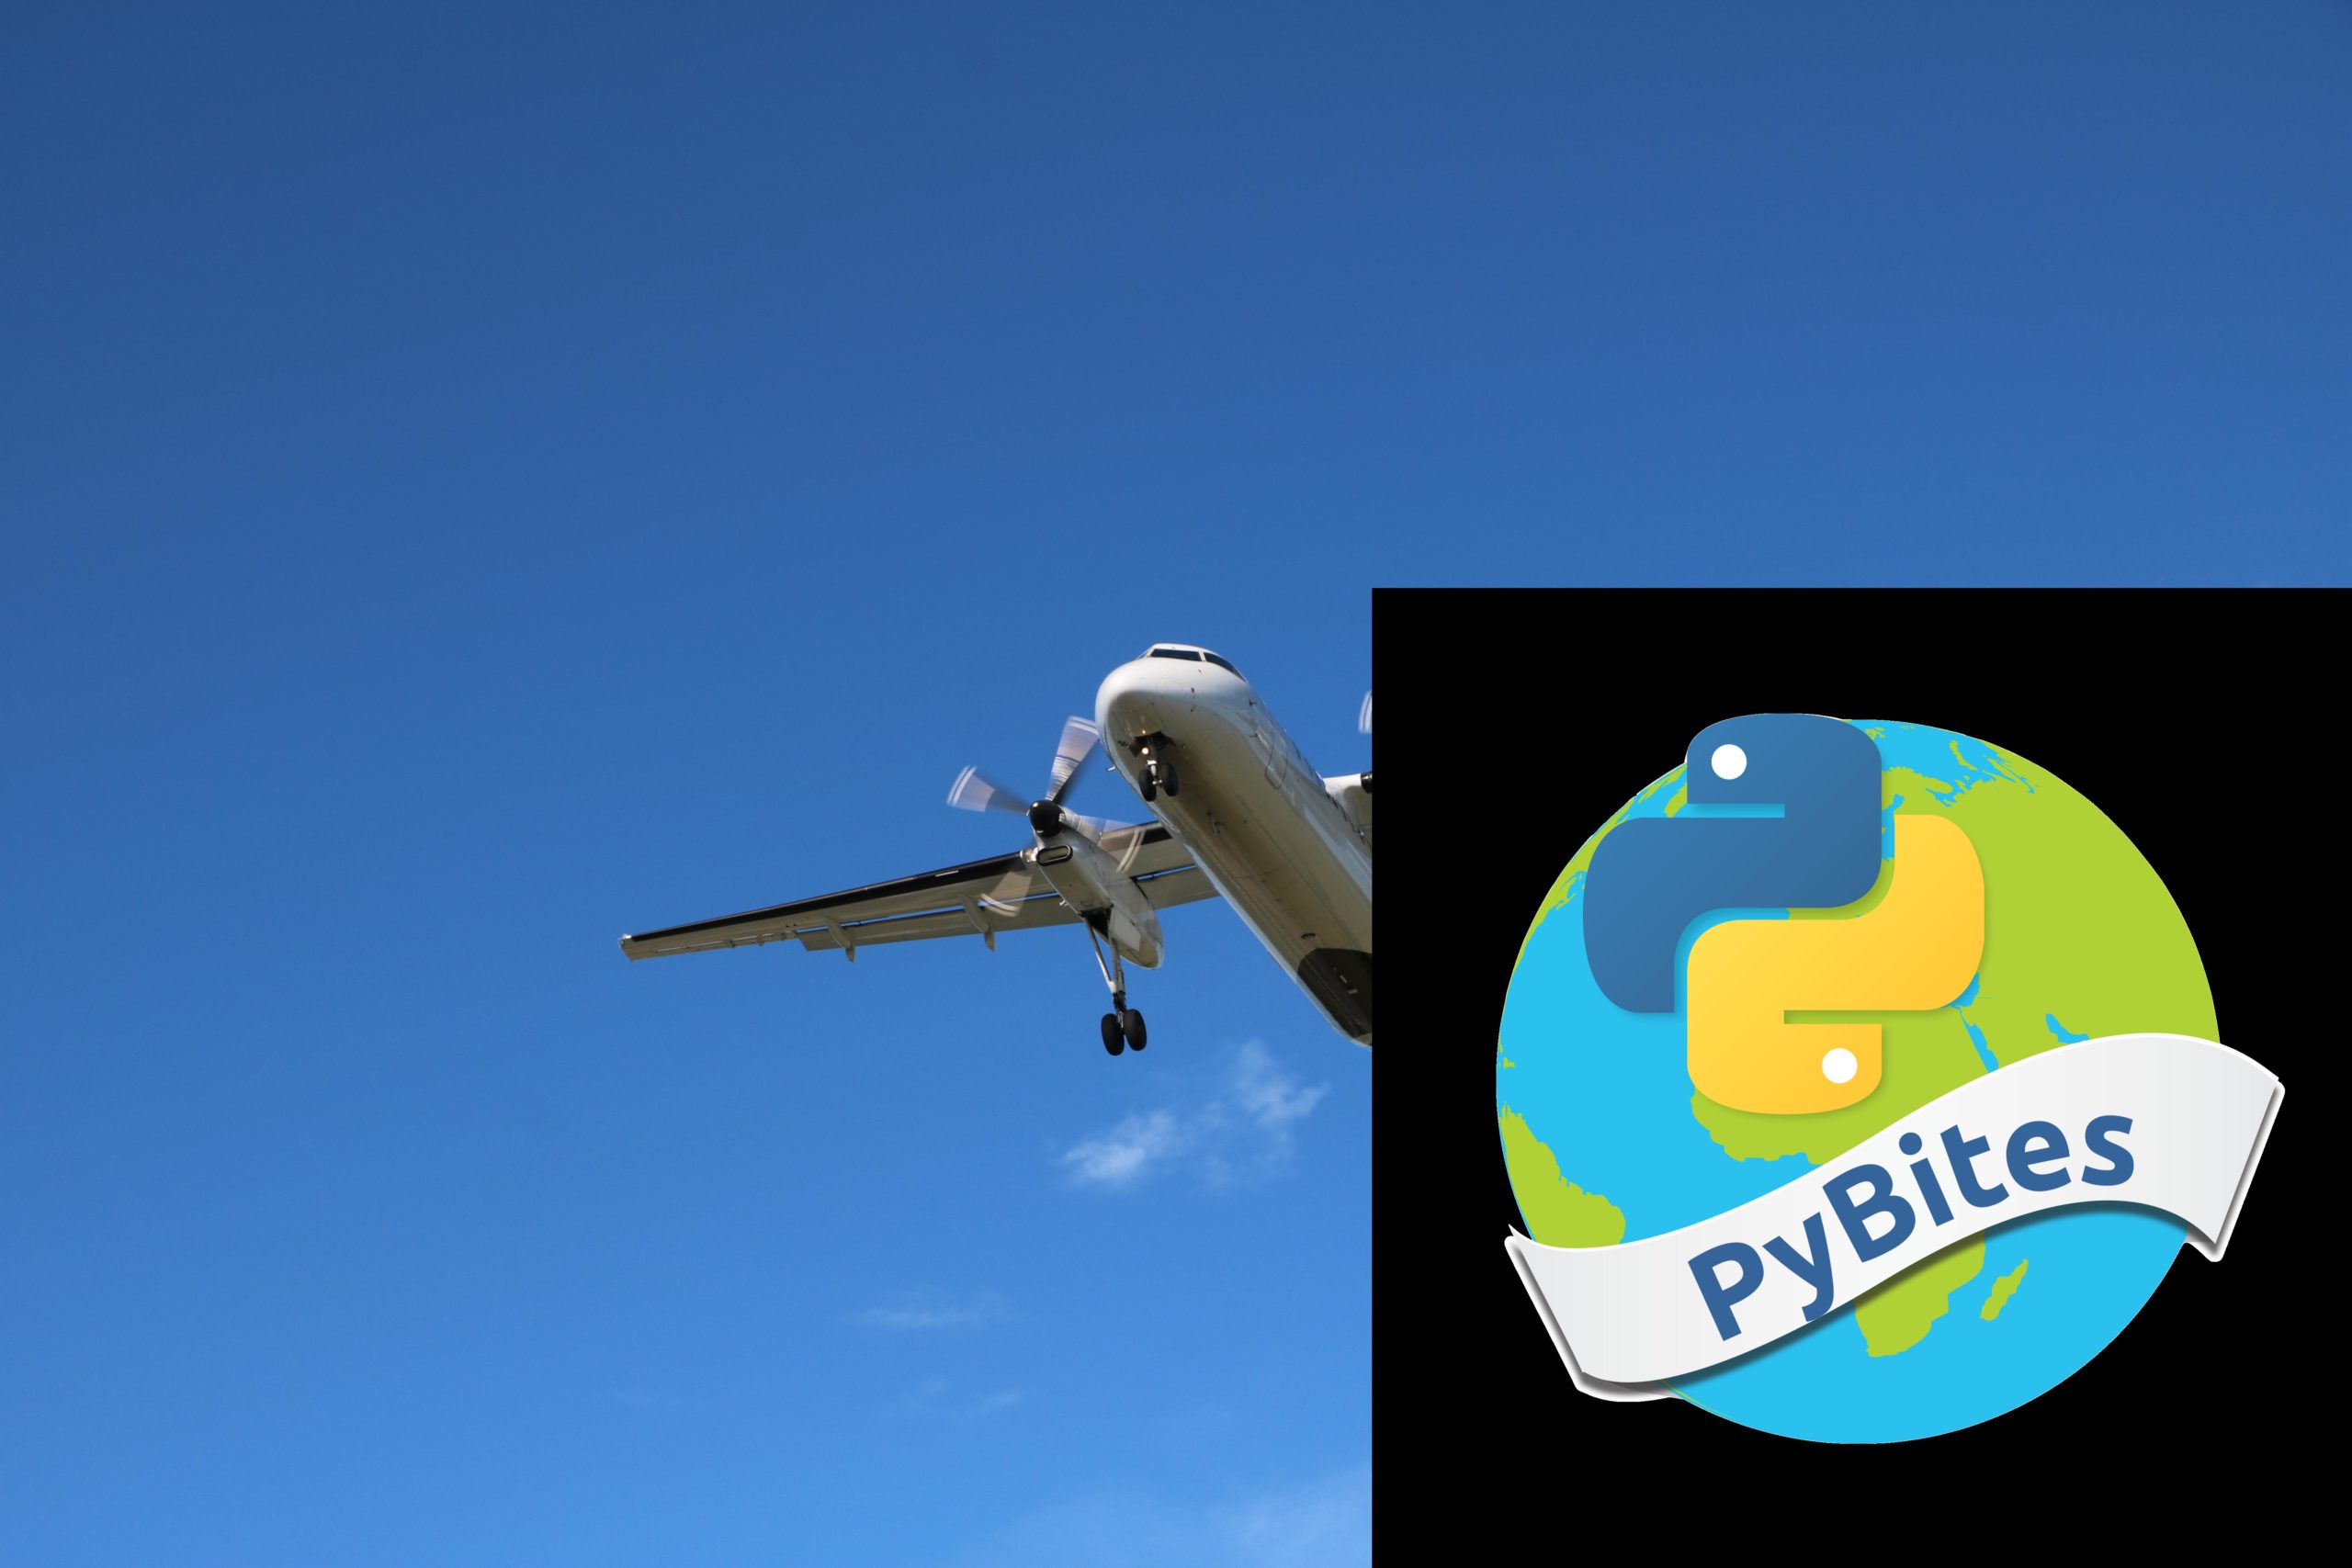
image_copy.paste(logo, position, logo)
image_copy.save('images/pasted_image_with_trans_backgnd.jpg')
This is better! (Although we should have resized perhaps!)
In part 3) we covered how to paste a logo image onto a main image, and introduced how the paste function can also take a transparency mask as an optional argument.
4) A final program to paste multiple images over the original
As mentioned, the Pillow documentation is really quite good. Advanced users will want to understand how to add/replace alpha layers, or convert to black & white from RGB colours, and change many other parameters.
I encourage you to read the documentation and have a play!
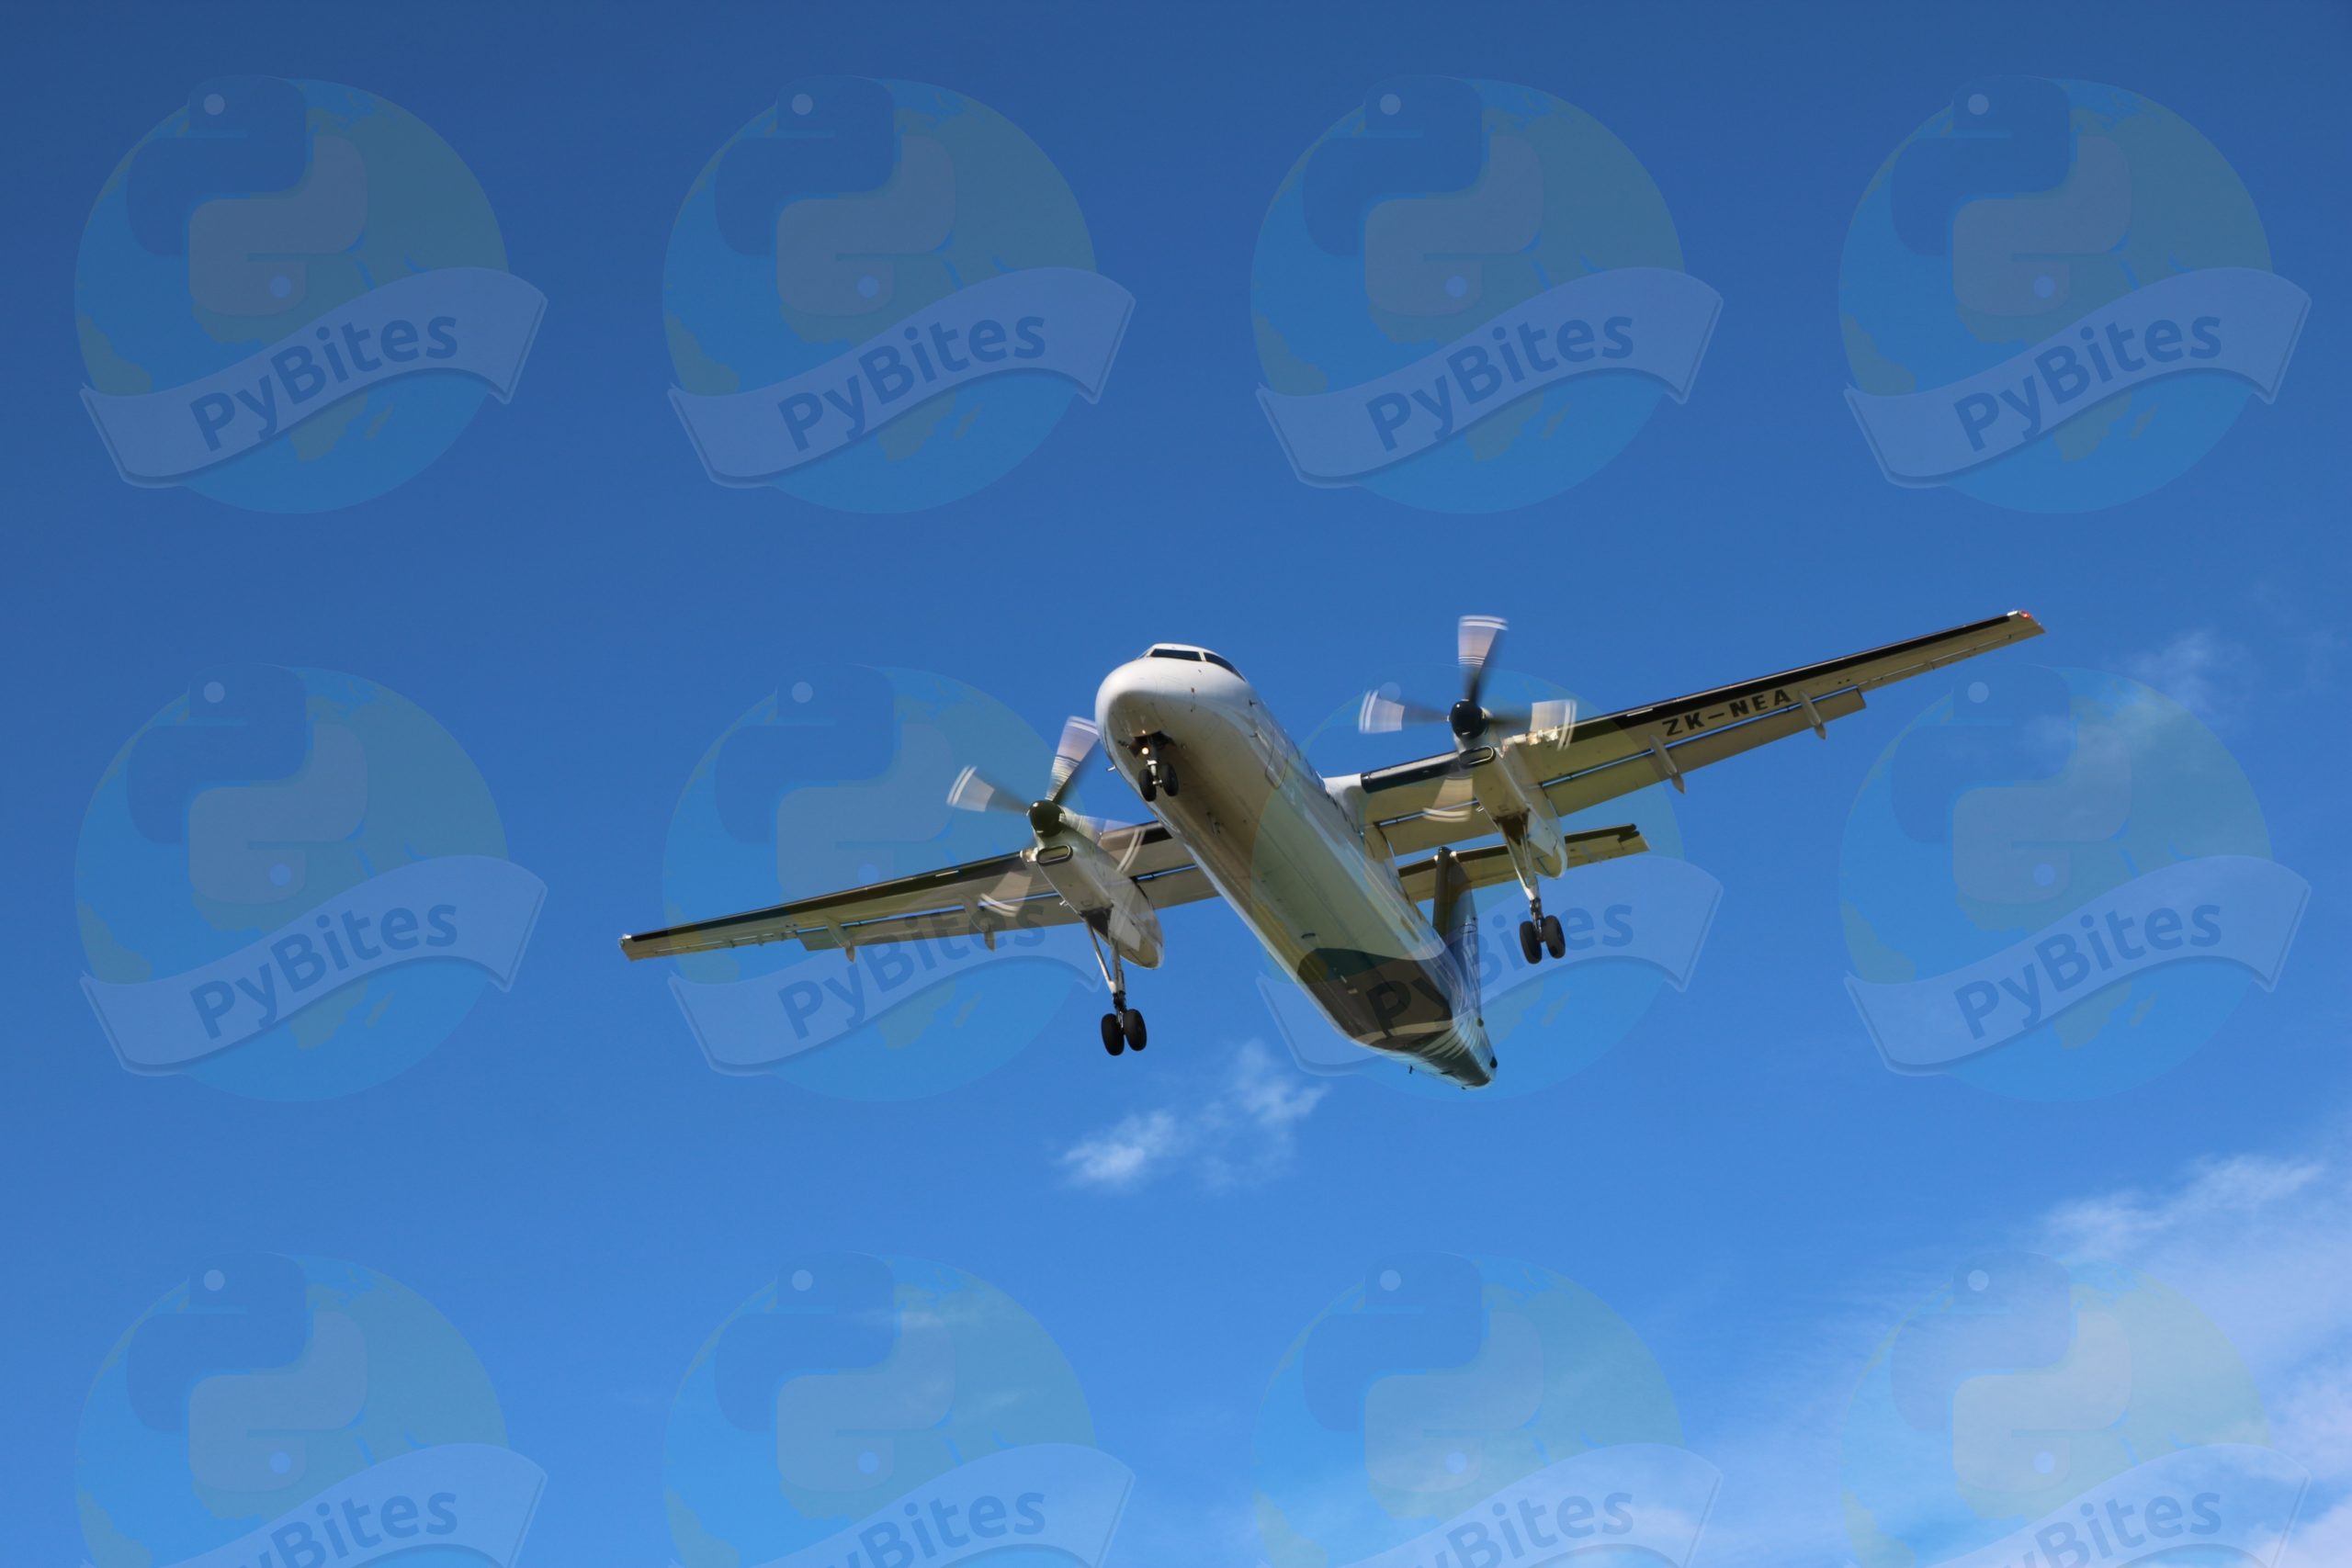
The following code is a variant of the work above. It pastes multiple copies of the PyBites logo watermark all over the original image. While the PyBites logo is a bit of an excessive watermark it demonstrates that a formatted text, possibly with an accompanying logo, can be splashed all over an image you might want to protect online from being copied. This might prevent the image being copied and claimed as someone else’s work, whereas a single watermarked image could be cropped out of the original picture.
from PIL import Image


def create_watermark(image_path, final_image_path, watermark):
    main = Image.open(image_path)
    mark = Image.open(watermark)

    mask = mark.convert('L').point(lambda x: min(x, 25))
    mark.putalpha(mask)

    mark_width, mark_height = mark.size
    main_width, main_height = main.size
    aspect_ratio = mark_width / mark_height
    new_mark_width = main_width * 0.25
    mark.thumbnail((new_mark_width, new_mark_width / aspect_ratio), Image.ANTIALIAS)

    tmp_img = Image.new('RGB', main.size)

    for i in range(0, tmp_img.size[0], mark.size[0]):
        for j in range(0, tmp_img.size[1], mark.size[1]):
            main.paste(mark, (i, j), mark)
            main.thumbnail((8000, 8000), Image.ANTIALIAS)
            main.save(final_image_path, quality=100)


if __name__ == '__main__':
    create_watermark('images/original.jpg',
                     'images/original_final_watermarked.jpg',
                     'images/pybites_trans.png')
This results in the following output:
A few evenings play with Pillow increased my knowledge of how to manipulate images in Python with ease. However, my wife opted to use a $1.69 app on her phone to apply a watermark wherever on a photo she might have just taken. It suits her workflow, and I don’t have to support it 🙂 But she did later say she wanted a website… “I can do that in Python using Flask!”, I said.
Thanks to Bob Belderbos for the inspiration to write this up.
Keep Calm and Code in Python!
— Anthony